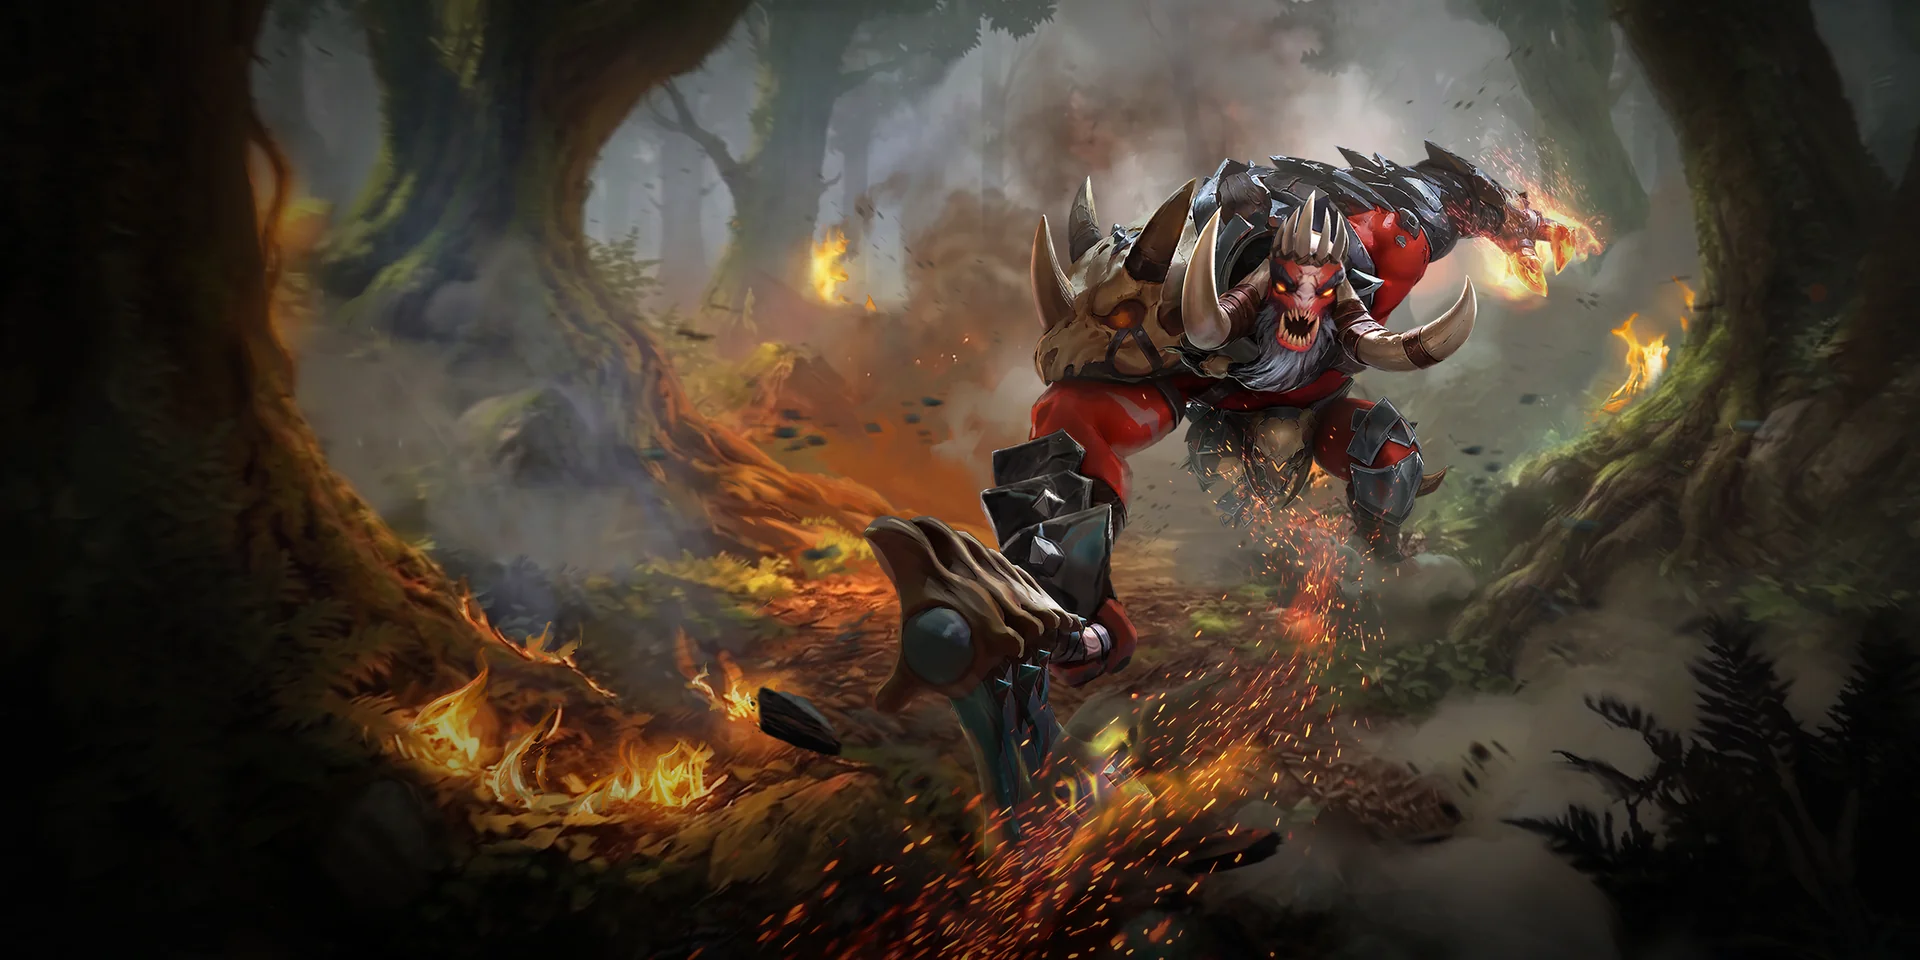
ULGORIM – THE HORDE KING
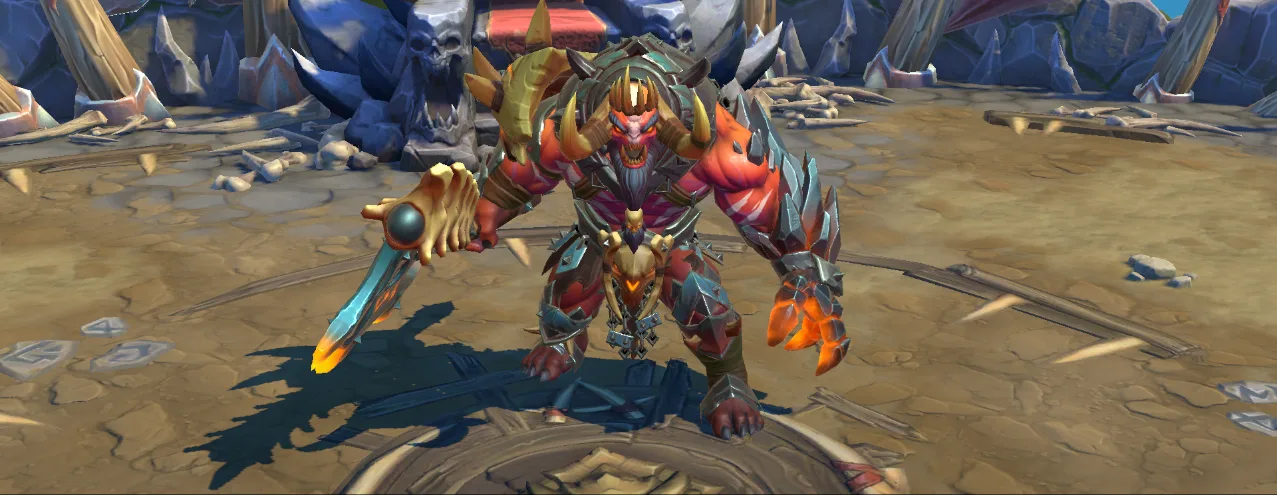
Ulgorim at a Glance
- Boss type
- Relic Boss
- Corruptions
- Blight (Damage) and Daze (Control)
- Immune to
- Crowd Control
- Summons
- 2 Heal Totems and 1 Bone Totem (Ancestral Wards); 4 Power Totems (Warchant)
- Warchant
- At 66% and 33% HP: a 30-second invincible channel
- Counters
- Heal Reduction, Blight Tolerance, Daze Tolerance, Ranged Invokers
- Best Invokers
- Tier List of Best Invokers for Ulgorim
Ulgorim Relic Drops
Ulgorim is the first Relic Boss you can farm. He opens up once you clear Chapter 1, and the other two, Althar and Sakiel, come much later. So his Relics are the ones you'll gear your first teams with, and the better geared they get, the faster you can grind him.
Every set below is listed in full in the Relics guide, together with how Rank, Rarity and upgrading work.
| Set | 3 pieces | 5 pieces | Full set |
|---|---|---|---|
| Health | HP +15% | HP +30% | HP +45% |
| Attack | ATK +10% | ATK +20% | ATK +30% |
| Defense | DEF +10% | DEF +20% | DEF +30% |
| Crit Rate | Crit Rate +10% | Crit Rate +20% | Crit Rate +30% |
| Set | 3 pieces | 5 pieces |
|---|---|---|
| Paragon | Shield & Heal Size +15% | Ally Move SPD +3m/s out of combat |
| Crush Tolerance | Crush Tolerance +50% | HP, ATK and DEF +20% |
| Paralysis Tolerance | Paralysis Tolerance +50% | HP, ATK and DEF +20% |
| Fatigue Tolerance | Fatigue Tolerance +50% | HP, ATK and DEF +20% |
| Manaburn Tolerance | Manaburn Tolerance +50% | HP, ATK and DEF +20% |
Early on you're here for Health and Attack. Health gives the biggest jump of anything in the pool — +15% at three pieces, another +30% at five, +45% for a full set — and it keeps a new team alive in fights they aren't geared for yet. You need Attack too, because every Warchant leaves Ulgorim hitting harder for the rest of the fight. Kill him fast.
You'll still want these sets later on. Crit Rate is what you build your Ranged and Melee Attackers with, and Paragon goes on Healers and Shielders — +15% Shield and Heal Size makes every heal and every shield they cast bigger.
Don't write off the Tolerance sets. Three pieces gives you +50% Tolerance against one Corruption and not much else, so they can look weak next to a flat stat set. Five pieces is the part people miss: +20% HP, +20% ATK and +20% DEF, 60% of Stats on one set. Once you're farming Bosses above stage 16, Epic and Rare Tolerance Relics get very important.
Ulgorim Drop Rates
One run drops 2 Relics, and the chances below are rolled for each of them on its own.
Stages 1 to 4 only drop 3★. 4★ starts at stage 5, 5★ at stage 7 and 6★ at stage 13 — those are the three stages worth learning to beat.
Low Ranks drop out as you climb. 3★ stops after stage 9 and 4★ after stage 19. Stage 20 is the hardest Ulgorim there is, and it's the only stage that never drops 4★ — 90% 5★ and 10% 6★. That's why it's worth pushing to.
| Stage | Energy | 3★ | 4★ | 5★ | 6★ |
|---|---|---|---|---|---|
| 1 |  8 8 | 100% | — | — | — |
| 2 | 8 | 100% | — | — | — |
| 3 | 8 | 100% | — | — | — |
| 4 | 8 | 100% | — | — | — |
| 5 | 8 | 86% | 14% | — | — |
| 6 | 8 | 75% | 25% | — | — |
| 7 | 12 | 59% | 35% | 6% | — |
| 8 | 12 | 43% | 50% | 7% | — |
| 9 | 12 | 21% | 70% | 9% | — |
| 10 | 12 | — | 87% | 13% | — |
| 11 | 12 | — | 83% | 17% | — |
| 12 | 12 | — | 82% | 18% | — |
| 13 | 16 | — | 75% | 24% | 1% |
| 14 | 16 | — | 72% | 26% | 2% |
| 15 | 16 | — | 70% | 27% | 3% |
| 16 | 16 | — | 66% | 30% | 4% |
| 17 | 20 | — | 57% | 38% | 5% |
| 18 | 20 | — | 55% | 39% | 6% |
| 19 | 20 | — | 54% | 39% | 7% |
| 20 | 20 | — | — | 90% | 10% |
How to Beat Ulgorim
- Save Heal Reduction for Warchant. At 66% and 33% HP, Ulgorim summons 4 Power Totems and heals while invincible. Every 1% of HP they heal adds 1.68% ATK for the rest of the fight, and 50% Heal Reduction halves that gain.
- Break the Power Totems. Destroying all four ends the 30-second channel early, so you can damage Ulgorim again. Put your hardest hitters on them.
- Kill the Bone Totem first. During Ancestral Wards it hits a random Invoker every 3 seconds and stacks Blight. The two Heal Totems heal Ulgorim but don't raise his ATK, so they can wait.
- Spread out before Cloud Splitter. Ulgorim takes 3 seconds to charge his jump. Anyone caught in the slam is launched for 4 seconds and loses 35% Ultimate Mana.
- Stack Blight and Daze Tolerance. Ogryn Fury puts Blight on your whole team and can't be avoided. Daze stuns two of your furthest Invokers (never Tanks) for 8 seconds and purges 2 buffs.
- Leave Crowd Control at home. Ulgorim is immune. Bring Ranged Invokers instead: they reach every Totem without running between them.
Ulgorim Accuracy, Resistance, Tolerance Requirements
This table shows Ulgorim's own stats at every stage — how much Accuracy and Resistance the boss has — and, next to them, what your own Invokers need. Hit the ACC goal and every debuff you cast lands on Ulgorim; hit the RES goal and you resist everything Ulgorim throws back.
The Tolerance column is the stage's own bonus or penalty. Low stages hand every Invoker a large bonus, so Tolerance barely matters there — from stage 11 it turns into a penalty, and it keeps growing towards stage 20. The closer you get, the more it pays to bring Invokers with the right Tolerances and to level their Tolerance skills.
| Stage | Element | Boss ACC | Boss RES | Tolerance | Your ACC goal | Your RES goal |
|---|---|---|---|---|---|---|
| 1 |  | 0 | 50 | +75 | 50 | 120 |
| 2 |  | 0 | 50 | +70 | 50 | 120 |
| 3 |  | 5 | 50 | +60 | 50 | 125 |
| 4 |  | 10 | 55 | +50 | 55 | 130 |
| 5 | | 15 | 60 | +45 | 60 | 135 |
| 6 | | 20 | 65 | +40 | 65 | 140 |
| 7 | | 25 | 75 | +35 | 75 | 145 |
| 8 | | 25 | 110 | +30 | 110 | 145 |
| 9 | | 30 | 115 | +25 | 115 | 150 |
| 10 | | 40 | 174 | 0 | 174 | 160 |
| 11 | | 50 | 275 | -10 | 275 | 170 |
| 12 | | 60 | 310 | -20 | 310 | 180 |
| 13 | | 70 | 345 | -30 | 345 | 190 |
| 14 | | 80 | 380 | -40 | 380 | 200 |
| 15 | | 90 | 440 | -50 | 440 | 210 |
| 16 | | 105 | 475 | -60 | 475 | 225 |
| 17 | | 115 | 515 | -70 | 515 | 235 |
| 18 | | 140 | 555 | -80 | 555 | 260 |
| 19 | | 150 | 595 | -100 | 595 | 270 |
| 20 | | 175 | 635 | -100 | 635 | 295 |
Ulgorim Overview
Ulgorim the Horde King is one of the simpler Bosses in the game – but that doesn't mean he's not dangerous.
He deals insane damage, and is incredibly hard to take down – both due to his high HP and Defense, and his frequent use of Heal Totems. And to make matters worse, Ulgorim also summons Power Totems that increase his damage as the battle rolls on.
Ulgorim fights alone, but his use of Bone Totems, Heal Totems, and Power Totems mean there's always more than one thing to worry about.
You'll need to be sturdy enough to tank Ulgorim's deadly attacks, deadly enough to take him and his Totems out quickly, and find someone with Heal Reduction to help slow his ascent into unstoppable power.
DO
✓ Bring Heal Reduction
✓ Use Invokers or Relics with Daze and Blight Tolerances
✓ Attack the Power Totems!
✓ Bring high DPS - the faster you break the Totems and the faster you can damage Ulgorim, the easier he becomes.
DON'T
✕ Bring Crowd-Control - Ulgorim is immune.
✕ Ignore the Power Totems! The more Ulgorim heals, the more his attack will grow.
✕ Stand still. Stay on your toes and avoid his heavy attacks.
✕ Leave your Heal Reductions at home. You'll regret it.
Ulgorim Skill Breakdown
Combo Attack #1
Attacks 1 enemy, dealing N damage.
Combo Attack #2
Attacks 1 enemy, dealing N damage. Decreases the target's Ultimate Mana by 1.5%.
Combo Attack #3
Attacks all enemies in a 13m radius, dealing N damage.
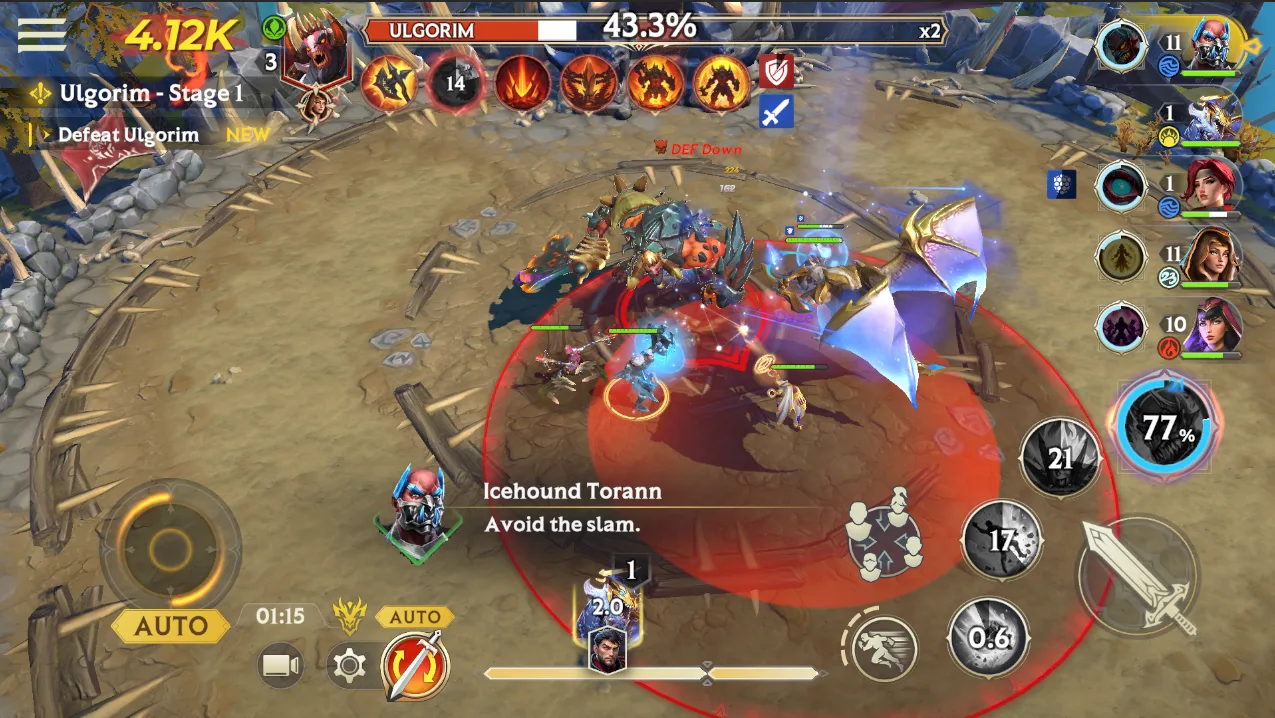
Skill 1 – Cloud Splitter
Ulgorim threatens two foes, then jumps to attack - launching anyone in the area.
Targets the 2 furthest enemies in an 18m radius, dealing N damage to each target. Casts Daze Corruption on each target, lasting 8s. The Daze Corruption Purges 2 buffs from each target.
Then, jumps towards the furthest target in a 15m radius, attacking all enemies in a 12m radius around the target, dealing N damage per hit. Launches the targets for 4s. Decreases each target's Ultimate Mana by 35%.
TIP #1: Spread out! Ulgorim takes 3 seconds to charge his jump. Use the time to move the rest of your team away from his target. Getting hit means taking big damage, getting launched for 4 seconds, and losing a huge chunk of Ultimate Mana. Dash, dash, dash away!
TIP #2: Bring Daze Tolerance. The Daze will stun your main sources of damage for 8 long seconds – the only way to decrease that is with Daze Tolerance.
Skill 2 – Ogryn Fury
Ulgorim swings his mighty axe, launching fireballs from its blade.
Attacks all enemies in the arena, dealing N damage per hit. Casts 1 stack of Blight Corruption on each target. The Blight Corruption ticks 1 time every 10s. Each tick damages the target by 0.5% of their MAX HP.
- TIP #1: This skill cannot be avoided. It's guaranteed Blight Corruption for your whole team. Make sure you use Invokers and Relics with Blight Tolerance to mitigate the effects of the Corruption.
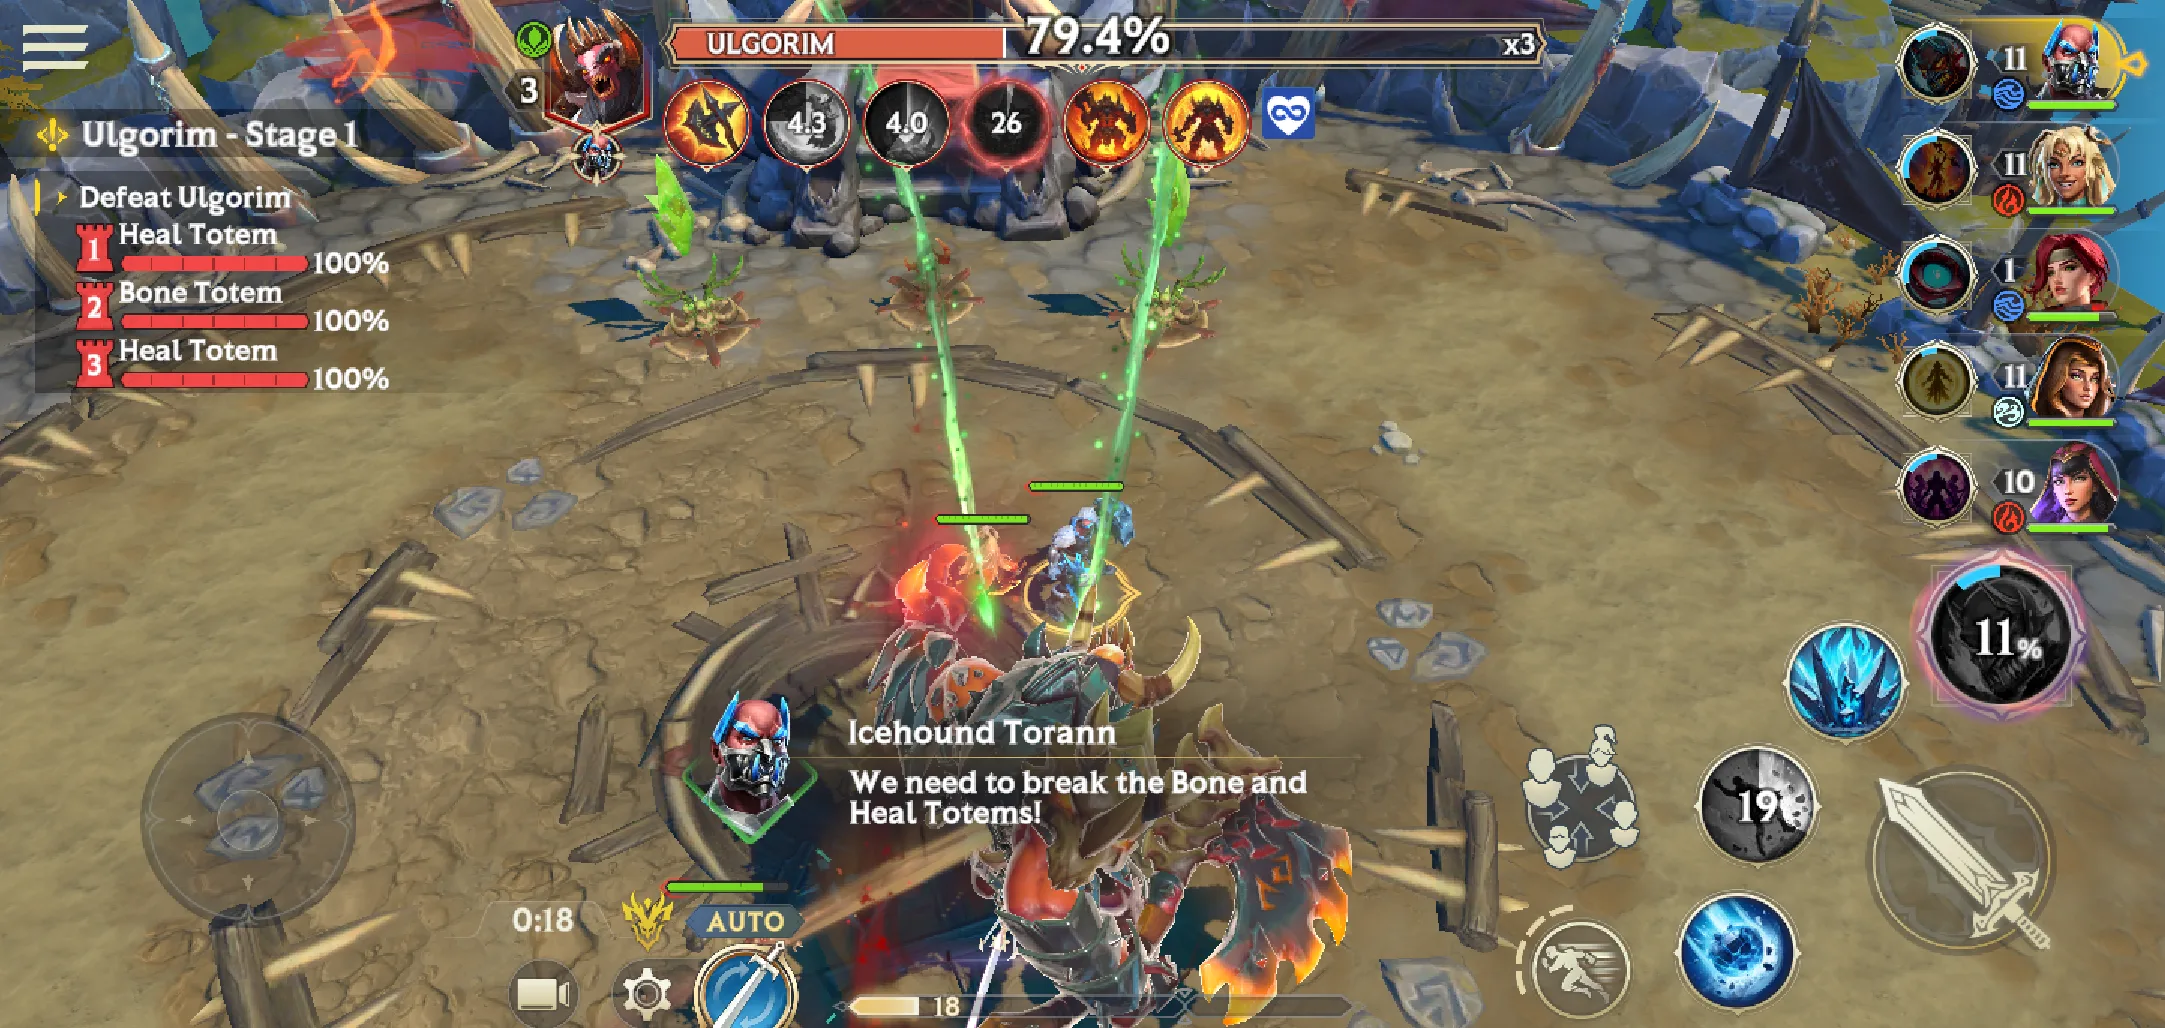
Skill 3 – Ancestral Wards
Ulgorim summons ancient Totems to aid his cause.
Spawns 2 Heal Totems and 1 Bone Totem.
The Heal Totems heal Ulgorim by 1% MAX HP every 1.5s.
The Bone Totem attacks a random enemy in the arena every 3s, dealing N damage. Casts 1 stack of Blight Corruption on the target. The Blight Corruption ticks 1 time every 10s. Each tick damages the target by 0.5% of their MAX HP.
The Totems can be attacked and destroyed, or will be automatically destroyed when Ulgorim uses his Warchant Skill.
TIP #1: Our advice? Focus on the Bone Totem first. If you let it shoot stacks of Blight on your whole team – or multiple stacks of Blight on a single Invoker – you're probably on the fast-track to a loss.
TIP #2: Ranged Invokers are very effective in countering both this Skill and Ulgorim's Warchant Skill. Ranged Invokers can attack from a distance, which means they don't have to waste any time running between Totems if they're positioned correctly.
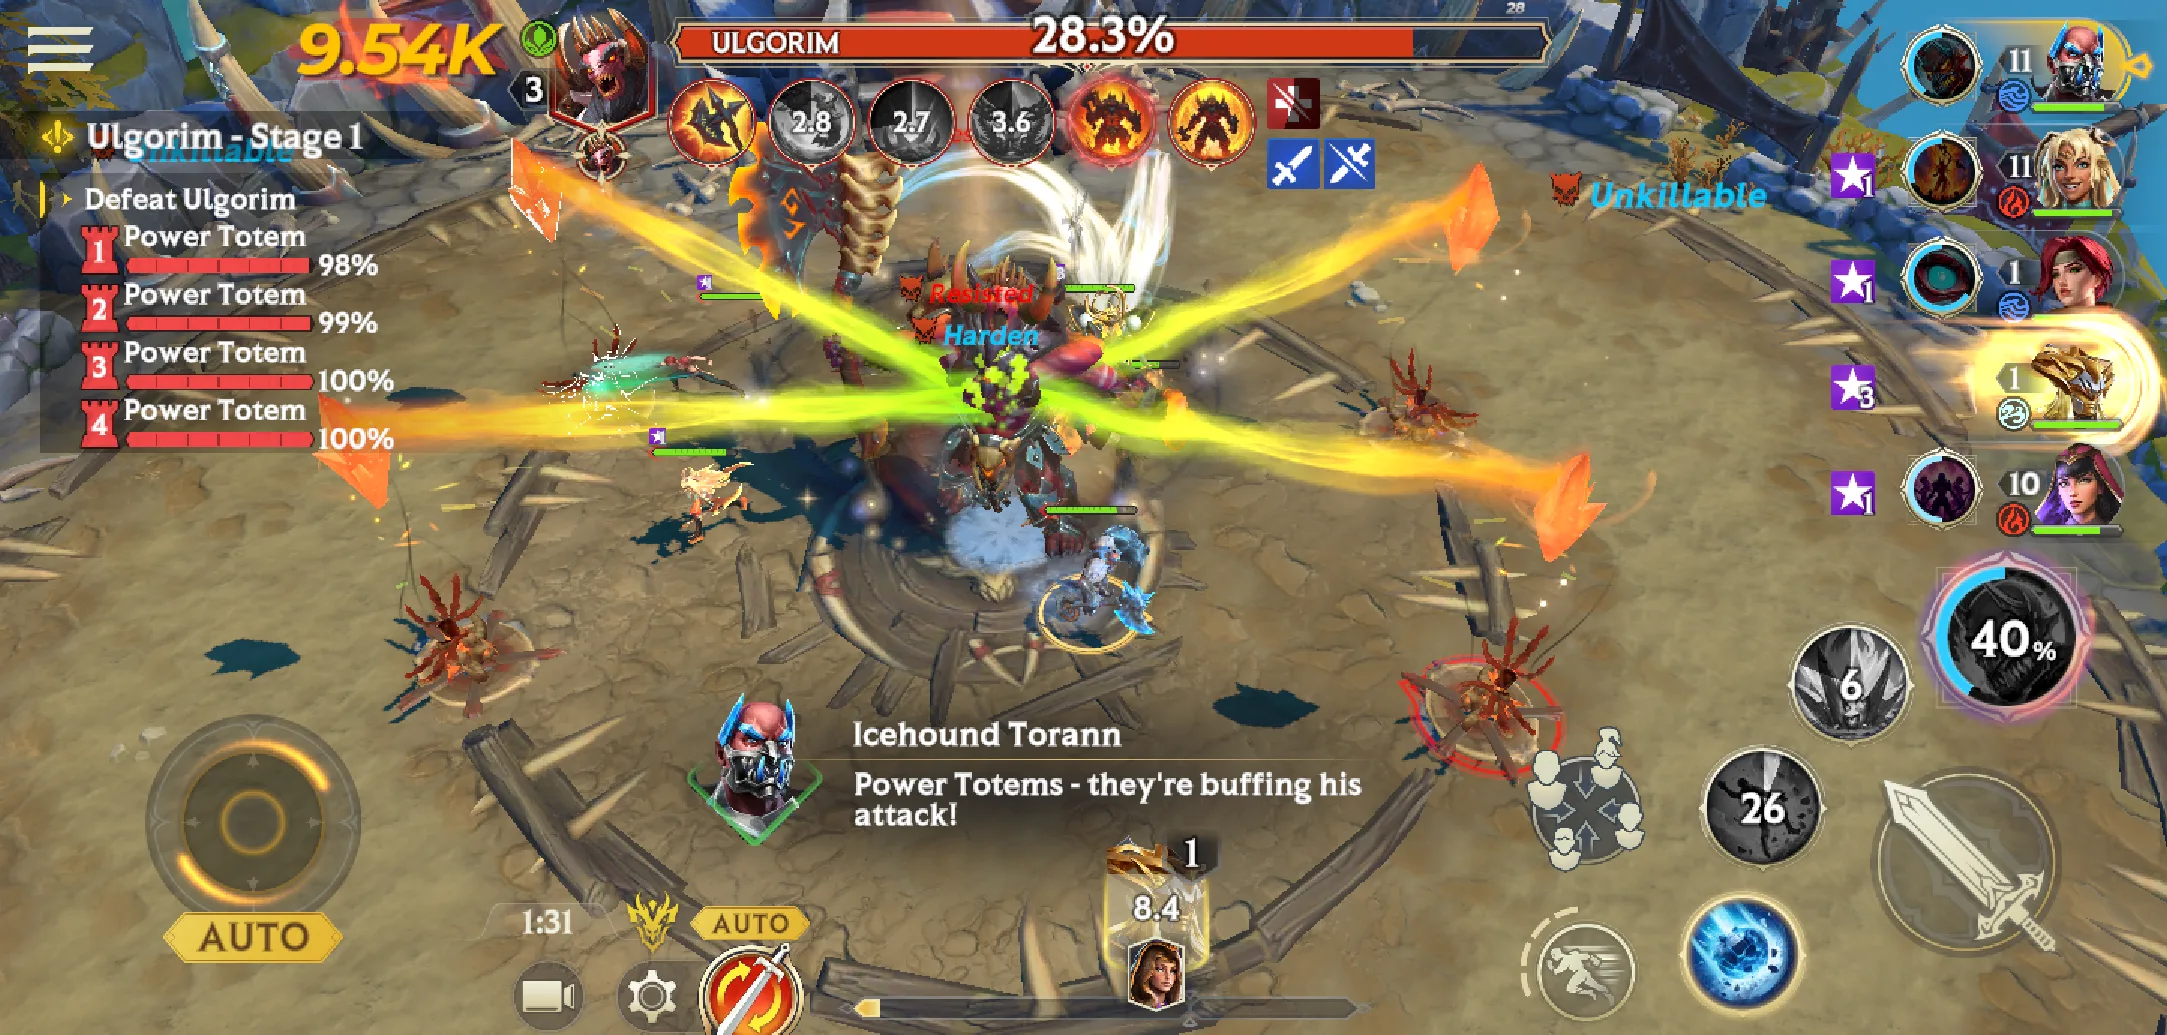
Skill 4 – Warchant
Ulgorim performs an ancient ritual of power, channeling Power Totems to gain strength.
Spawns 4 Power Totems that last 30s, then channels for 30s.
While channeling, Ulgorim is invincible – but is not immune to Debuffs.
Each Power Totem heals Ulgorim every 1s. Over 30s, each Power Totem will heal Ulgorim by a total of 12.5% of his MAX HP. The heal amount increases every second.
After the channeling ends, Ulgorim gains +1.68% ATK for every percentage of HP healed by the Power Totems.
The Power Totems can be attacked and destroyed.
Ulgorim will use this Skill when his HP drops to 66% and 33%.
TIP #1: Destroy the Totems. This skill will end after 30 seconds if you do nothing, but if you destroy the Power Totems, the skill will be interrupted – and you can damage Ulgorim again.
TIP #2: Ulgorim's ATK grows permanently after he gets healed - the more he heals, the more his ATK will increase. Bring Heal Reduction and destroy the Totems to decrease healing and decrease the ATK gain. A 50% Heal Reduction will result in 50% less ATK gain - making it super effective.
Ulgorim Corruptions
Ulgorim has two Corruptions: one Damage Corruption (Blight), and one Control Corruption (Daze).
Each of Ulgorim's attacks will deal extra damage as Blight Damage, which is not decreased by your Invokers’ DEF Stat.
DAMAGE CORRUPTION – BLIGHT

Blight Corruption
Each stack of Blight damages the target by a percentage of their MAX HP every tick. Each stack also decreases the target's Skill Recovery. Infinite duration.
Blight Tolerance
Blight Corruption is a damage-over-time effect that damages the recipient by a percentage of their MAX HP every tick. It also decreases the target's Skill Recovery by a certain percentage. Blight Corruption has an infinite duration and cannot be removed. Blight Corruption stacks additively, so each stack of Blight directly increases the damage per tick along with the Skill Recovery reduction.
Bosses with Blight Corruption also deal direct Blight damage from their Skills, in addition to their regular damage. Direct Blight damage ignores the target's DEF stat, and can only be decreased by the target's Blight Tolerance.
Increasing an Invoker's Blight Tolerance will decrease all Blight damage by the Invoker's Tolerance percentage, along with decreasing the effects of the Skill Recovery reduction.
Read a complete guide about Corruptions and Tolerances for more information
CONTROL CORRUPTION – DAZE

Daze Corruption
Stuns the target, making them unable to move or use Skills. Instantly purges 2 buffs from the target when Daze Corruption first lands.
Daze Tolerance
Daze Corruption instantly purges 2 buffs from the target as soon as the Corruption lands, then stuns them for the duration.
Bosses with Daze Corruption can become incredibly hard to navigate due to being unable to guarantee which Buffs your team will have up at any time. Whenever they get hit with Daze, they'll lose 2 of their buffs straight away.
Increasing an Invoker's Daze Tolerance will decrease the duration of the Daze's stun by the Invoker's Tolerance percentage. And at 100% Daze Tolerance, the Buff purge will also be blocked.
Read a complete guide about Corruptions and Tolerances for more information
Ulgorim Strategy
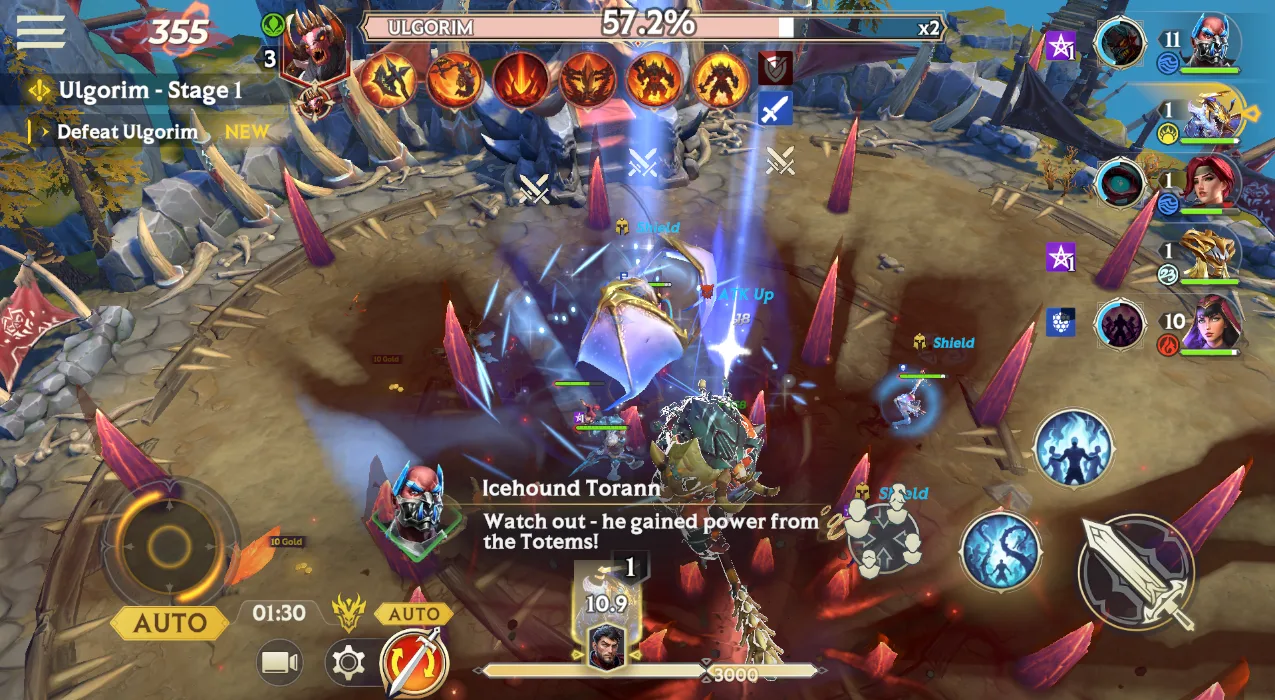
Ulgorim hits hard, has a lot of HP, and summons Totems to heal himself and become stronger during battle.
You’ll need to bring someone tough enough to tank Ulgorim’s devastating attacks, plus either a hard-hitting attacker that can out-damage his healing, destroy the Totems in time, or someone with Heal Reduction to help counter those heals in the first place.
Ulgorim's first Skill, Cloudsplitter, will cast Daze Corruption on the two furthest targets, taking them out of the game for an extended duration. Then, he'll jump on them, slamming his axe into the ground, and launching any enemies within a 12m radius for 4s. While you can't avoid the initial Daze, you can get out of the way of the slam and minimize the second part of the attack.
And remember, since Ulgorim does not target Tanks as the initial targets of the Daze Corruption (even if they're the furthest away), you'll need to make sure your damage dealers and supports have enough HP to withstand his attacks.
Ulgorim's second and third Skills focus on loading your team up with Blight Corruption.
Skill 2, Ogryn Fury, is a heavy-hitting AoE attack that will give your entire team a stack of Blight Corruption. Simple, but very, very painful.
Skill 3, Ancestral Wards, sees Ulgorim spawn three Totems – two Heal Totem and one Bone Totem.
The Heal Totems do exactly what it sounds like - they heal Ulgorim every second they're still standing. The Bone Totem, however, is a little different - every 3 seconds, it will attack one of your Invokers, dealing some decent damage and casting three stacks of Blight Corruption. That's right - three.
You're left with a choice. Ignore all the Totems and attack Ulgorim? Attack the Heal Totems to prevent him from healing up? Or destroy the Bone Totem to keep your team safe from the Blight?
Unlike with Skill 4 – Warchant – Ulgorim doesn't freeze and channel during this Skill. He's still going to be moving around and attacking your team the whole time. So, you can't just ignore him and freely attack the Totems. Luckily, unlike with the Power Totems from Warchant, Ulgorim's ATK won't increase as he gets healed by the Heal Totems. So, they're probably not the most urgent thing to focus on.
As soon as Ulgorim uses his Warchant Skill, you'll want to throw a Heal Reduction debuff on him immediately. Try to extend the debuff for as long as possible, or bring multiple Invokers with the debuff to cast another on Ulgorim as soon as it expires.
Doing this on Auto can be risky. Try to control or limit that Invoker's Skills and use their Heal Reduction Skill at the right time – as soon as Ulgorim begins his Warchant. On Manual, you may want to manually control when your Heal Reduction debuffers use their Skills.
At the same time, you'll want to have your damage dealers attack the Power Totems directly – with as much force as possible.
Each of the four Power Totems will heal Ulgorim by 25% of his MAX HP, and Ulgorim's ATK will increase according to how much he heals. The more he heals up, the more his ATK power will grow – and the more trouble you'll be in.
Ulgorim will channel and heal for 30 seconds for the duration of this Skill, during which time he is invincible and cannot be damaged. The only way to end that early is to destroy all of the Power Totems. So, not only do you need a strong, reliable debuffer – you'll also need to bring serious damage.
It might not sound like much, but using Ranged Invokers can help move the needle here. They don't need to run long distances between each Totem, which means they have less downtime and can maximize their DPS to take out the Totems.
Good luck!
Invokers That Help Beat Ulgorim
Ulgorim heals himself all fight — two Heal Totems during Ancestral Wards, four Power Totems during Warchant — and that healing is what turns into permanent ATK. Heal Reduction is the only thing that stops it, and it still lands while he's invincible.
He's got two Corruptions, Blight and Daze. An Invoker carrying both Tolerances takes less damage from his Corruption and gets out of his Control faster, so one slot covers the whole fight.
Invokers with Blight and Daze
These Invokers take less of Ulgorim's Corruption damage and spend less time under his Control.




 Virtus the Heavensent


 Duchess Kanraku
 Gawara the United
 Raziel
 Moros
Moros

 Luxare the Prismatic
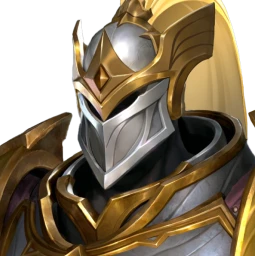 Sanctus the Valiant
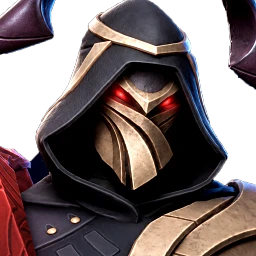 Veilstalker Nyctra
 Sawtooth Veyna
 Lazenne
 Nightguard Aleksu
 Pyla the Fumebanner
 Zalasi Bloodthorne
Invokers with Blight
Ogryn Fury puts a stack of Blight on your whole team and you can't dodge it, and the Bone Totem keeps adding more. Invokers with Blight Tolerance take less damage from every stack.
Virtus the HeavensentDuchess Kanraku Charvaine the Hypnomancer
 Deadlash VakiaGawara the UnitedRaziel
 Asprill the EnshrinedMorosLuxare the Prismatic
 Ivory the BeastseekerSanctus the Valiant
 Gondo The WatchmanVeilstalker Nyctra
 Navigator GillumSawtooth VeynaLazenne
 MadaleaNightguard AleksuPyla the FumebannerZalasi Bloodthorne
 Railbolt Sarienne
 Avria the Mirage
 Dannos
 Selisa
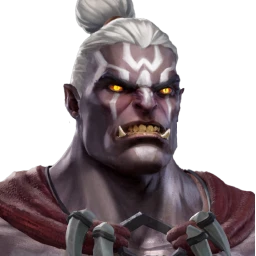 Mafis
Mafis Sabado
 Silanth
 Vinris
 Grunid
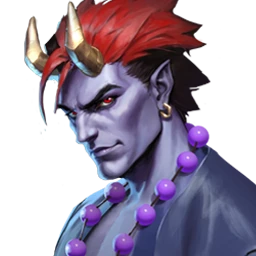 Misuke
 Ballus the Bull
 Ranath
 Braith
 Brunna
 Humi
Humi
 Rekki
Rekki Headsman Rano
 Jyuka
Jyuka Noltis of the Dark Passage
 Renesse
Invokers with Daze
Cloud Splitter stuns your two furthest Invokers for 8 long seconds and strips 2 buffs off each of them. Tanks are never the first target. Invokers with Daze Tolerance get out of the stun faster.
Virtus the HeavensentDuchess Kanraku Kryxa the Giantfeller
 Akrila the Oathpainter
 Gralmund the GuidestoneGawara the United
 Ozmol the VulcanistRazielMoros
 Prime Force SenhachiLuxare the Prismatic
 Fatefinder DylaineSanctus the Valiant
 Kisanka
 Ulsos the Dark StarVeilstalker Nyctra
 Caileth the Last Rose
 Fulrik the Animator
 Kolan DeepreefSawtooth VeynaLazenneNightguard AleksuPyla the FumebannerZalasi Bloodthorne
 Kinslayer Sodama
 Kalix
Kalix Belmor
 Malgar
 Ortak Stormhammer
 Astri
Astri Paralia
 Dosoji
 Hallea
 Vaelith
 Morriga
 Heatstroke Stila
 Spellknife Remile
 Ruesca
Invokers with Heal Reduction
Ulgorim's Totems heal him all fight, and Warchant turns every 1% of HP healed into 1.68% ATK for the rest of it. 50% Heal Reduction halves that gain.
 Nautila the Unfathomable
 Shredripper MatescuGawara the UnitedRaziel
 Admiral Gladstone
 Nirvelle the SoulraiserSawtooth VeynaLazenneNightguard AleksuPyla the Fumebanner
 Ruthos the EnthralledMafisOrtak StormhammerMisukeBallus the Bull
 HaraParalia
 Ganbuku of the Mask
 Little Grakka
Ulgorim Tier List
The Invokers ranked for Ulgorim from S+ to E by the developers' own ratings, with the top-rated Invokers who bring what this fight asks for.
Ulgorim FAQ
How do you beat Ulgorim in Invokers: Titan Legacy?
Bring Heal Reduction, Blight and Daze Tolerance, and high damage. When Ulgorim starts Warchant at 66% and 33% HP, apply Heal Reduction and destroy all four Power Totems to end his invincible channel early. During Ancestral Wards, kill the Bone Totem first, and spread out whenever he charges Cloud Splitter.
Is Ulgorim immune to Crowd Control?
Yes. Crowd Control does nothing to Ulgorim, so spend those slots on Heal Reduction, damage and Tolerances. He's invincible during Warchant but you can still debuff him, so Heal Reduction lands even then.
What Corruptions does Ulgorim use?
Blight, a Damage Corruption, and Daze, a Control Corruption. Blight damages a share of MAX HP every tick, lowers Skill Recovery and can't be removed, and Ulgorim's direct Blight damage ignores DEF. Daze stuns and purges 2 buffs when it lands. Blight Tolerance and Daze Tolerance reduce both.
When does Ulgorim use Warchant?
When his HP drops to 66% and again at 33%. He spawns 4 Power Totems and channels for 30 seconds, invincible, while every Totem heals him. After the channel he gains 1.68% ATK for every 1% of HP healed. Destroying all four Totems interrupts it.
Which Totem should you destroy first?
During Warchant, the Power Totems: their healing permanently raises Ulgorim's ATK. During Ancestral Wards, the Bone Totem, which keeps stacking Blight on your team. The Heal Totems heal Ulgorim but don't raise his ATK.
Which Invokers and Titans are good against Ulgorim?
Ulgorim asks for Tolerance against Blight and Daze, and for Invokers who bring Heal Reduction. Tolerance is an Invoker stat — a Titan does not have one, so choose your Titan to suit the Invokers you are taking rather than the boss. Every Invoker in the game who qualifies is listed on this page: Invokers That Help Beat Ulgorim