










Kegbeast Tonhaka guide: skills, build and team roles
Overview
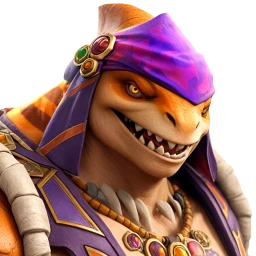
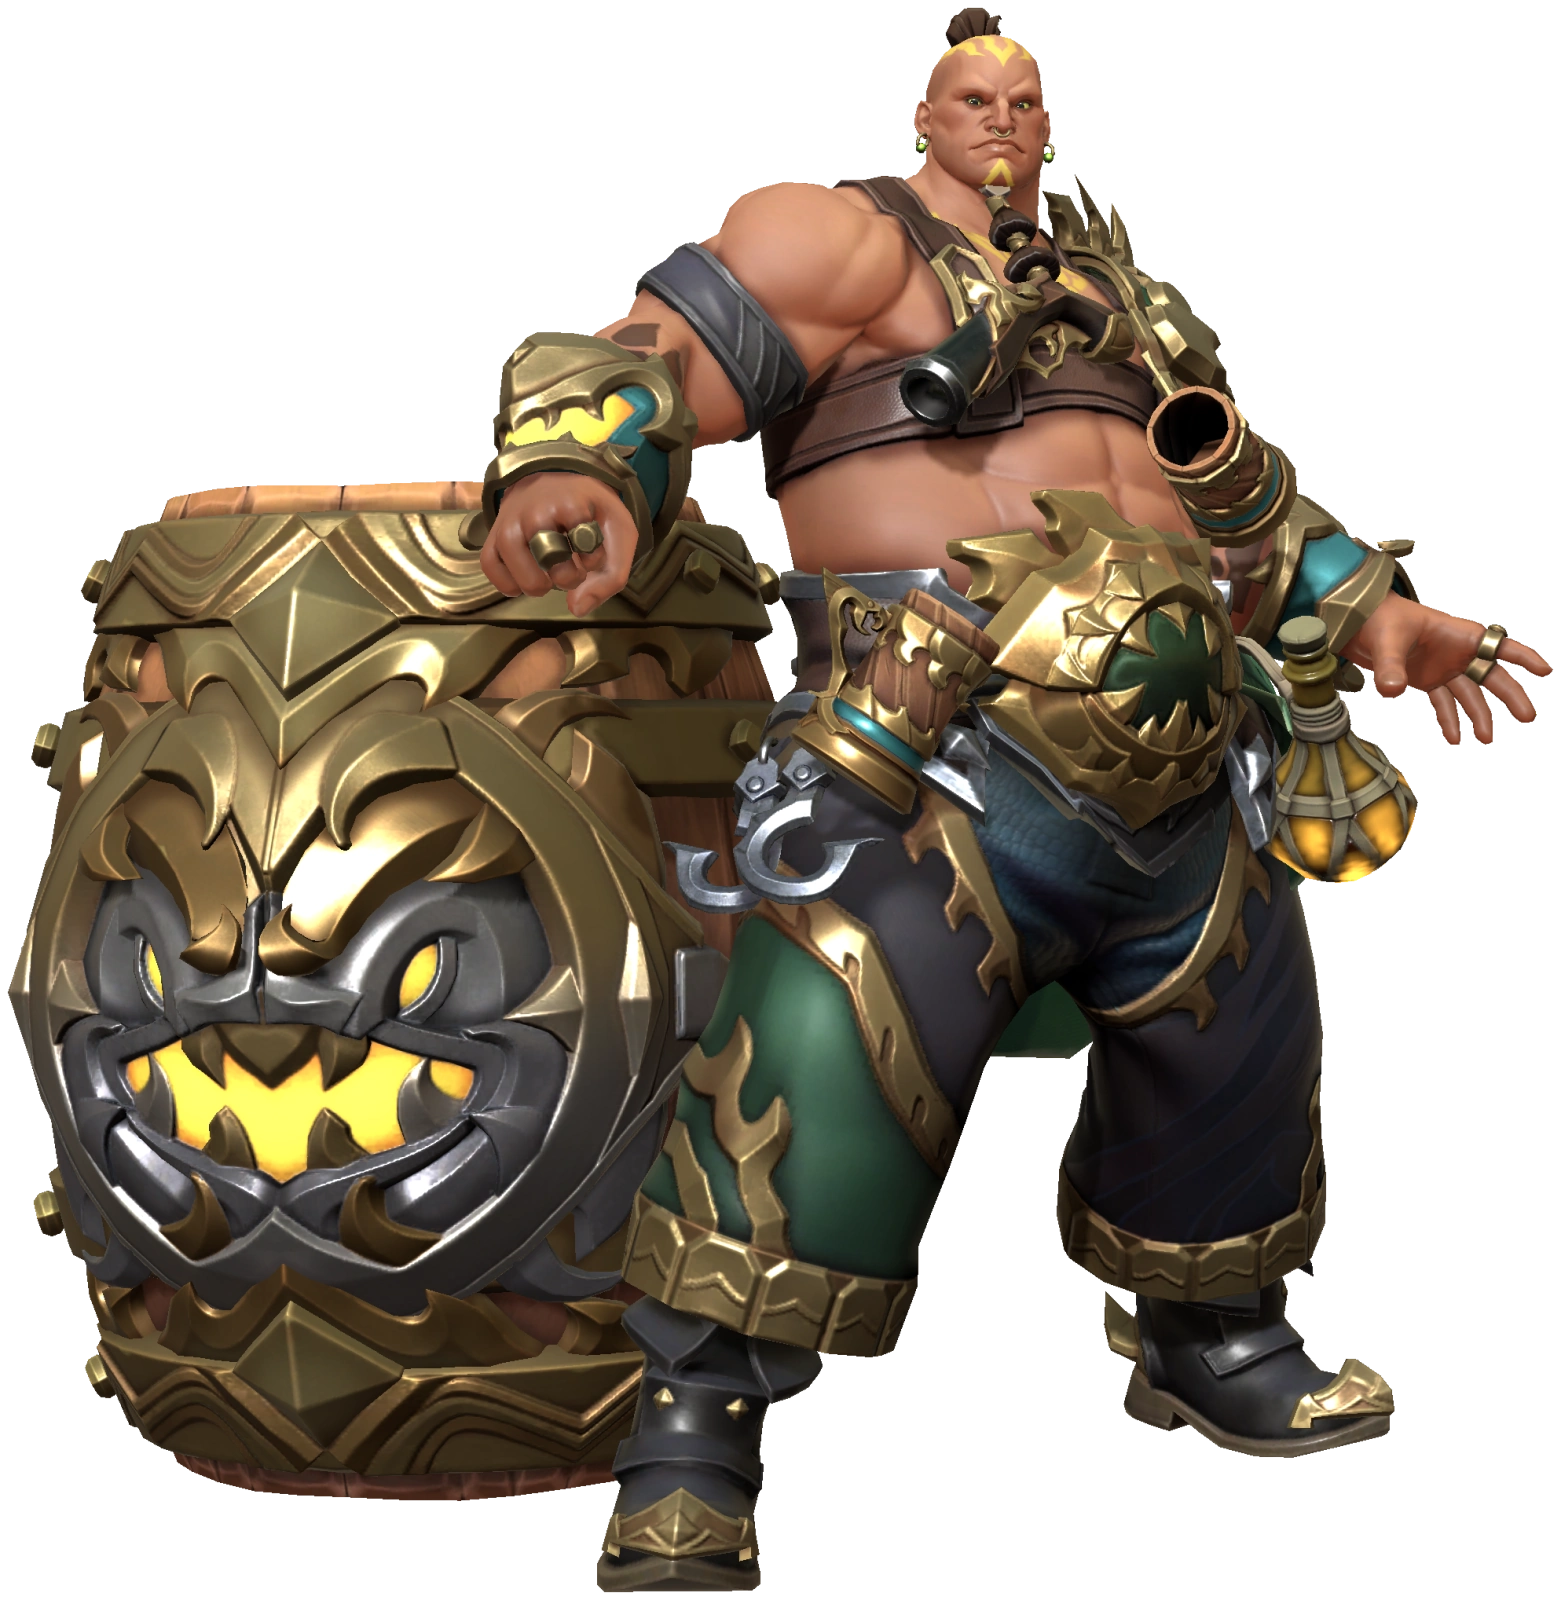
Kegbeast Tonhaka is a Rare Light Freeborn Support in Invokers: Titan Legacy. He brings three offensive buffs: Combo SPD Up from Cheerful Round, and Crit Rate Up and Crit DMG Up from Barrel of the Best. Together they make an existing damage dealer hit harder, without Tonhaka having to compete for the main damage role himself.
At Level 60, 6★ and fully Awakened, before Relics or a Titan, he has 599 ATK, 545 DEF and 8,010 HP. That's low ATK and low DEF for a Support, and about average HP.
His disruption is useful but secondary. Keg Roller places Accuracy Down across a rectangular area in front of him, and Barrel of the Best Launches nearby enemies. Accuracy Down can make enemies' effects land less often, and Launch interrupts susceptible targets. Neither stops every attack or replaces healing.
Tonhaka's attacks put him close to the action. The Ultimate's enemy damage area and its larger ally-buff radius are different, so a successful buff doesn't mean every enemy you wanted was also Launched.
Skills To Prioritize
Barrel of the Best starts with 10% Crit Rate Up and 30% Crit DMG Up for ten seconds. At Level 9 it reaches 20% and 50% respectively, lasting 13 seconds. Max Level keeps Crit Rate Up at 20%, raises Crit DMG Up to 60% and extends both buffs to 15 seconds. That's a big damage boost for a Rare, although how much you get depends on your allies' damage and how often the buffs are up.
The Ultimate's Launch reaches three seconds at Level 10 and stays there at Max Level. Its Mana cost falls from 900 initially to 875 at Level 5, 850 at Level 8 and 800 at Max Level. Its 15-second cooldown doesn't mean the buffs are always up: Mana and interruptions still decide when it's cast.
Cheerful Round reaches 17% Combo SPD Up for 11 seconds at Level 10. Max Level extends it to 12 seconds and lowers the cooldown from 22 to 20 seconds. Combo SPD speeds up the Combo Attack sequence rather than directly reducing every Skill cooldown. It's especially good when an ally benefits from landing its fifth Combo hit.
Keg Roller improves from 40% Accuracy Down for 12 seconds at Level 10 to 50% for 14 seconds at Max Level, with the cooldown falling from 24 to 22 seconds.
If you want Tonhaka to be all about boosting your damage dealers, upgrade Barrel of the Best first: Level 9 raises both buffs to 20% Crit Rate Up and 50% Crit DMG Up, and Max Level pushes Crit DMG Up to 60%. If your team leans on Combo Attacks, take Cheerful Round to Level 10 first for its 17% Combo SPD Up. If you want him to help keep enemies from hitting your team, consider Keg Roller first, and take it to Max Level for the stronger 50% Accuracy Down.
Build And Team Support
Tonhaka places debuffs, so put Accuracy on his Chestplate and take as much Accuracy after that as the build allows, so his Launch and Accuracy Down land. Then build HP and RES, so he stays alive and keeps casting. RES is built up to about 300 for Bosses, and more for Arena. If you want Barrel of the Best cast more often, add Mana Gen.
For Relic Sets, Accuracy Relics help his Launch and Accuracy Down land more often, Health Relics keep him alive long enough to cast his Skills, and Resistance Relics make enemy debuffs less likely to shut him down.
He has no heal, Shield, cleanse or revive. If your team dies before it can deal its damage, you may need a healer more than another buffer, so pair him with a healer and a Tank. His Crit Rate buff also has gaps: if an attacker needs reliable critical hits to trigger something, think about what happens when the buff runs out or gets removed.
Arena, Bosses And Spires
In Arena, Tonhaka can power up your damage while Launch briefly interrupts vulnerable enemies. He still needs protection against an opening Control Debuff chain. Be wary of enemy Invokers who can steal or remove buffs, as that can sharply cut what he adds.
Against Galvos, who reduces the damage an attacked ally takes for each buff on them, put Tonhaka's buffs on the ally Galvos attacks: Combo SPD Up from Cheerful Round, and Crit Rate Up and Crit DMG Up from Barrel of the Best each count, and they boost your team's damage too.
Against Sorgott, Tonhaka's buffs make your attackers hit harder, but he has no Manaburn Tolerance, Crush Tolerance, cleanse or Immunity, so bring those from other Invokers or Relics.
Against Astral Omnissi, who steals buffs, think twice before bringing Tonhaka: his Barrel of the Best and Cheerful Round buffs can be stolen and used against your team. Dark Omnissi, who removes buffs, requires Combo SPD Down, which Tonhaka doesn't place; his Combo SPD Up is a different effect. Invest in him when your team needs more damage and can keep him protected.
In the Light Spire, his buffs can speed up wave clearing, especially when your team already has a healer and a damage dealer. His area control gives you some breathing room. He doesn't heal you between waves, so don't assume the Support class means your team has healing covered.
Awaken
Awakening boosts an Invoker's stats significantly. Bonuses from Relics, Accessories, the Trophy Room, Tactics and Titan leader bonuses apply to base stats and Awakening stats alike, so unlocking the Awakening nodes is critical to maximise Tonhaka's potential.
Unlocking each Titan node at Star 2, 4 and 6 adds a second to Titan Invokation, taking the total from 12 seconds to 15.
Review the Awakening guide for more detail.