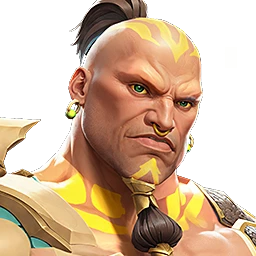












Admiral Gladstone guide: skills, build and team roles
Overview
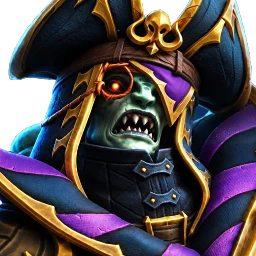
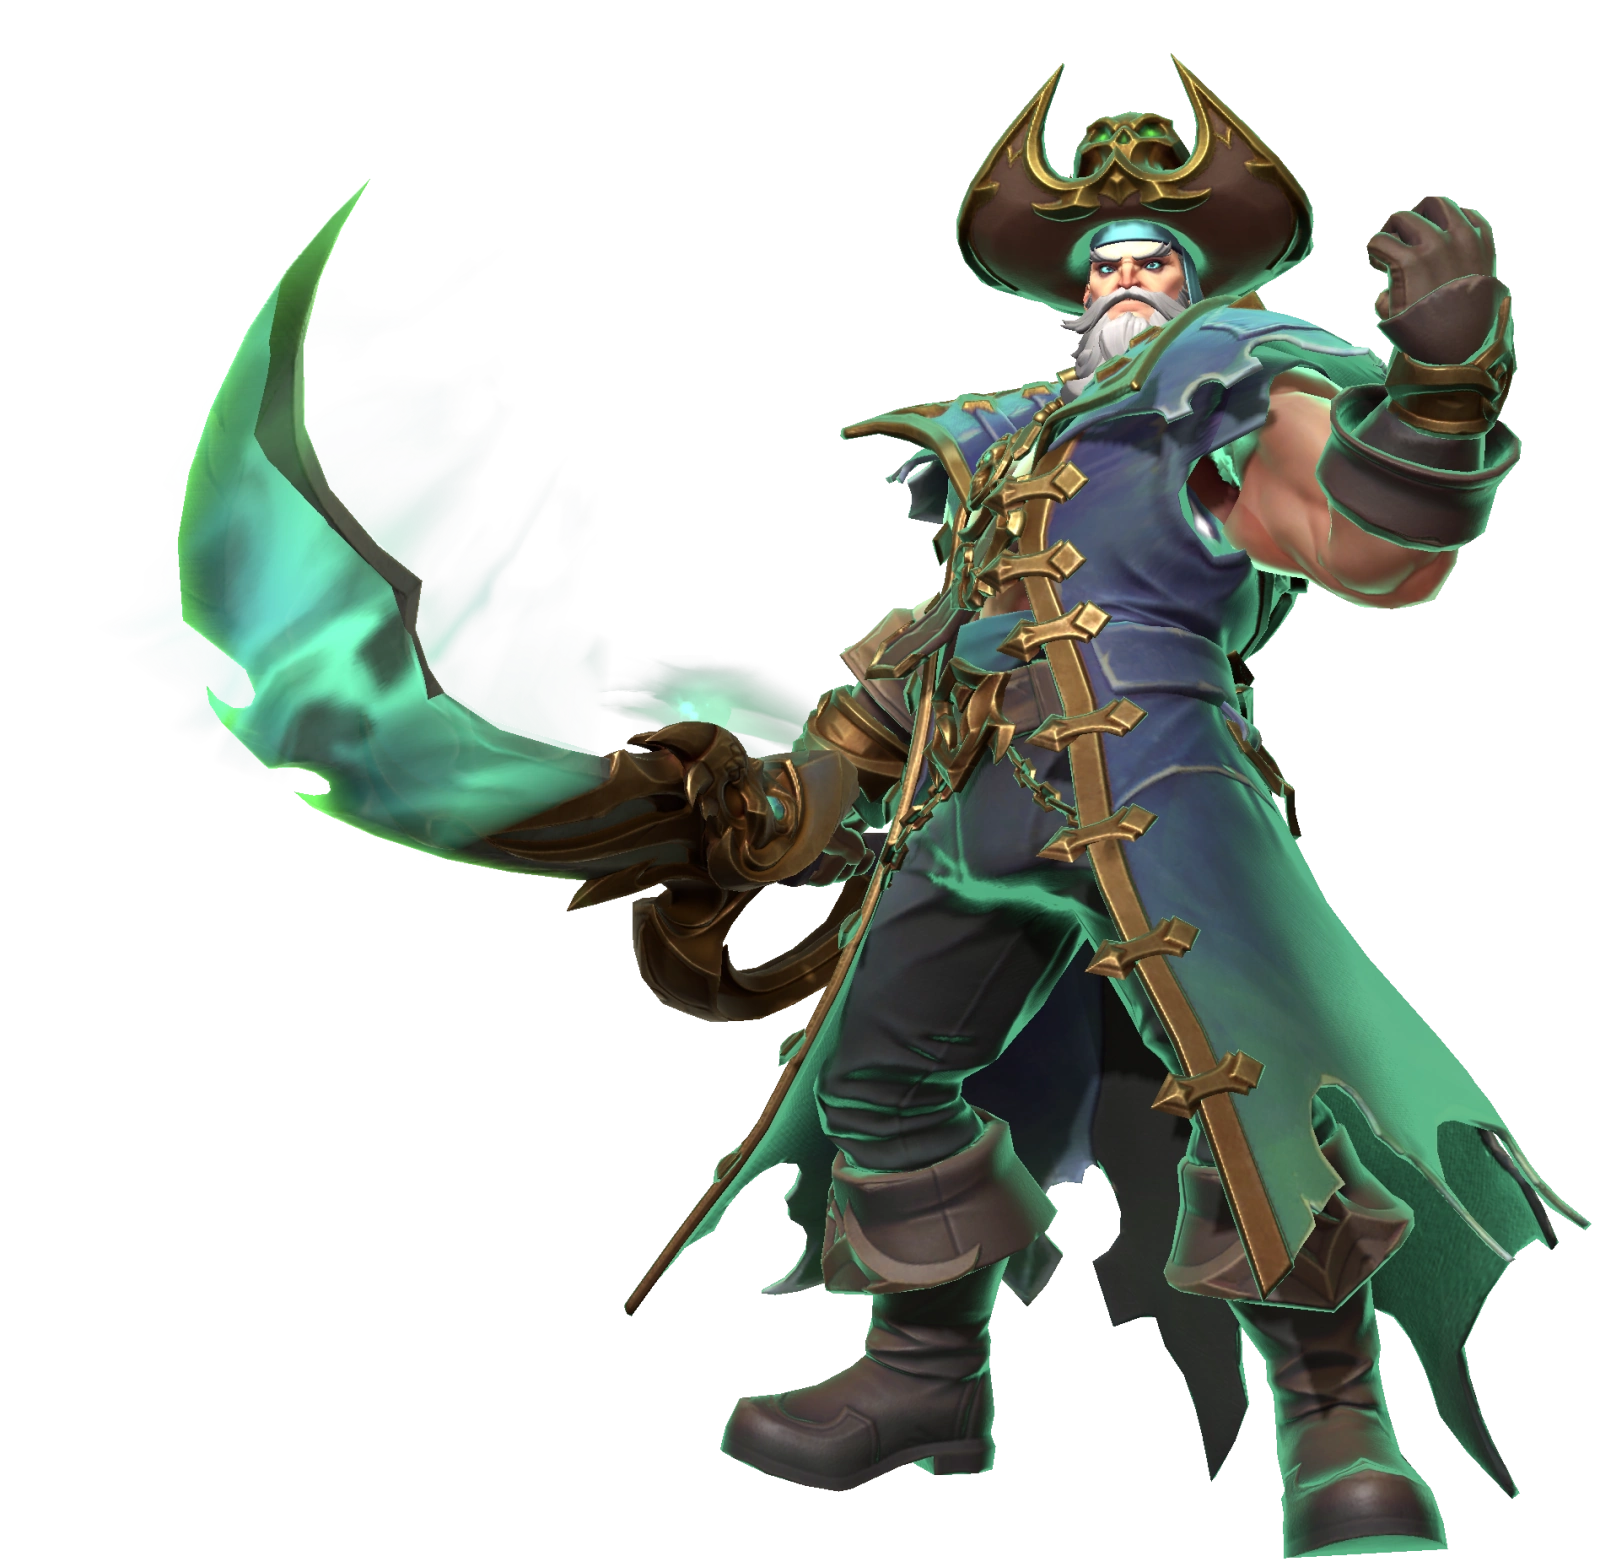
Admiral Gladstone is a Legendary Earth Tank from the Freeborn Faction in Invokers: Titan Legacy. He pairs personal durability with debuffs that make enemies less effective and easier for the team to defeat: Weaken, Mindworm, Heal Reduction, Crit Rate Down, Combo SPD Down and DEF Down. He does it while staying in the fight himself.
His direct attacks scale from both ATK and DEF, with larger DEF coefficients on his attacks, so DEF supports his damage as well as his durability. His personal Shield scales from his own MAX HP, so HP stays useful and can't simply be replaced by more DEF.
Fully Awakened and before Gear, Gladstone has 839 ATK, 937 DEF and 10,109 HP. His ATK is the highest of any Tank, while his DEF and HP are both about average for a Tank.
Two of his debuffs are scarce. He is one of the few Invokers in the game who place Mindworm, and Crit Rate Down is almost as rare, so if you are building a team that needs either of them, he is a good candidate. Crit Rate Down is especially useful in Arena.
He doesn't have Taunt, so picking him as your Tank doesn't guarantee that enemies will stop attacking fragile teammates. He also has no group healing, cleansing or revival, so the rest of your team has to cover those.
Skills To Prioritize
The Admiral's Blade places personal DEF Up after its second hit. Howl of the Deep places Weaken and Mindworm on one enemy: Weaken increases the damage the enemy takes, while Mindworm blocks passive activation where the target permits it. Boss-specific exceptions override the general Mindworm description.
Hand of Greed combines Heal Reduction with a personal Shield. Its upgrade changes the job it can do: the Heal Reduction grows from a partial 50% to 100% at Level 8. That can suppress healing completely while it's active, as long as the debuff lands and the encounter allows it. At Level 10 it lasts nineteen seconds with a Shield worth 25% of his own MAX HP and a 21-second base cooldown. Max Level keeps the same Heal Reduction, lowers the cooldown to nineteen seconds and extends the Shield. It doesn't stop every source of healing.
The Master's Command, his Ultimate, attacks a narrow area in front of Gladstone five times and places three debuffs. That's area damage, but it doesn't hit the whole arena: positioning and which enemies it actually catches matter. At Level 10 it places 50% DEF Down, 45% Crit Rate Down and 20% Combo SPD Down for sixteen seconds. Max Level keeps those values and lowers the Mana cost from 850 to 800. His fifth Combo Attack can extend a random debuff, but it doesn't let you choose which one.
Howl of the Deep reaches 22% Weaken at Level 10 and 25% at Max Level.
If you want Gladstone to shut down enemy healing, upgrade Hand of Greed first, as Level 8 takes its Heal Reduction from 50% to 100%. If you want him to boost your team's damage and block passives, upgrade Howl of the Deep first, as its Weaken reaches 25% at Max Level. If you want his area debuffs against groups, upgrade The Master's Command first, as Max Level lowers its cost to 800 Mana.
Build And Team Support
Build DEF first, then HP, then RES: about 300 RES is enough for Bosses, and Arena wants more. Put Accuracy on his Chestplate and add as much Accuracy after that as the build allows, because a resisted debuff loses the main reason to pick him. Skill RECOV brings back Howl of the Deep and Hand of Greed sooner, and Mana Gen helps him reach The Master's Command and its area debuffs. Offensive stats come after the rest of the build is working.
For Relic Sets, Defense Relics raise the DEF his damage and durability scale from, and Health Relics raise the MAX HP his Shield scales from. Accuracy Relics help his debuffs land, Mana Relics help him reach his Ultimate sooner, and Fury Relics bring Howl of the Deep and Hand of Greed back faster.
Gladstone has native Bloodrot and Manashock Tolerances, so match your Relic Sets to the damage you actually take rather than treating them as full Boss protection.
Pair him with a healer, since he doesn't heal the team. Bring a Taunt, Stun or interruption source too, because he lacks a hard-control opener, and a dependable damage dealer to make use of his debuffs.
Arena, Bosses And Spires
In Arena, Gladstone can help an attacker break through a defensive team by combining DEF Down, Weaken and Heal Reduction. Crit Rate Down and Combo SPD Down reduce parts of the enemy's offence. A team that needs Stun, Taunt or interruption must bring those elsewhere.
Against Ulgorim, Hand of Greed's Heal Reduction cuts Ulgorim's recovery, while Weaken and DEF Down support damage where they apply. Reaching the stronger Heal Reduction levels matters more here than adding a little personal damage.
Against Sakiel, Mindworm freezes the cooldown of the Skill that grants him his buffs, but it does not switch off his Burn and Bleed passive, so don't use Gladstone as a reason to ignore that.
Against Dark Omnissi, Combo SPD Down switches off her active-skill reflection while the debuff remains active. Gladstone places it through his Ultimate, so Mana Gen, Accuracy and duration matter, and a second Combo SPD Down source can cover any gaps.
Against Sorgott, Mindworm can't turn off his protected passive, and Gladstone doesn't place Jinx, steal buffs or cleanse allies, so bring other Invokers for those. Weaken and DEF Down can still help where Sorgott allows them.
Against Galvos, who rewards debuffs, Gladstone's several debuffs fit the mechanic that increases incoming attack damage for each debuff, and his personal buffs help him take less damage.
Against Althar, Gladstone doesn't place Block Revive, so bring another Invoker who does to stop Althar's minions reviving. Against Pentiax, he doesn't generate Titan Mana, so bring another Invoker who does.
In the Earth Spire, his personal Shield and DEF Up help him stay active while the debuffs support wave clearing. The Master's Command is useful against grouped enemies, but he doesn't give the team broad Shields, heals or revival. Pair him with recovery and a dependable source of damage rather than expecting him to solve both jobs.
Awaken
Awakening boosts an Invoker's stats significantly. Bonuses from Relics, Accessories, the Trophy Room, Tactics and Titan leader bonuses apply to base stats and Awakening stats alike, so unlocking the Awakening nodes is critical to maximise Gladstone's potential.
Unlocking each Titan node at Star 2, 4 and 6 adds a second to Titan Invokation, taking the total from 12 seconds to 15.
Review the Awakening guide for more detail.