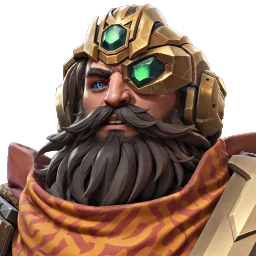












Fulrik the Animator guide: skills, build and team roles
Overview
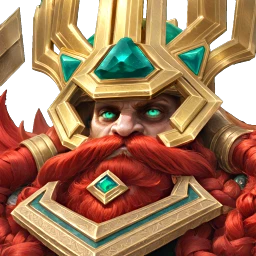
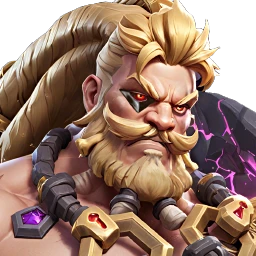
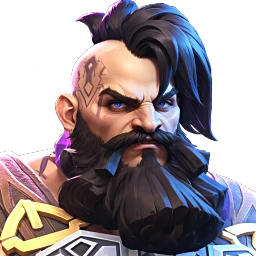
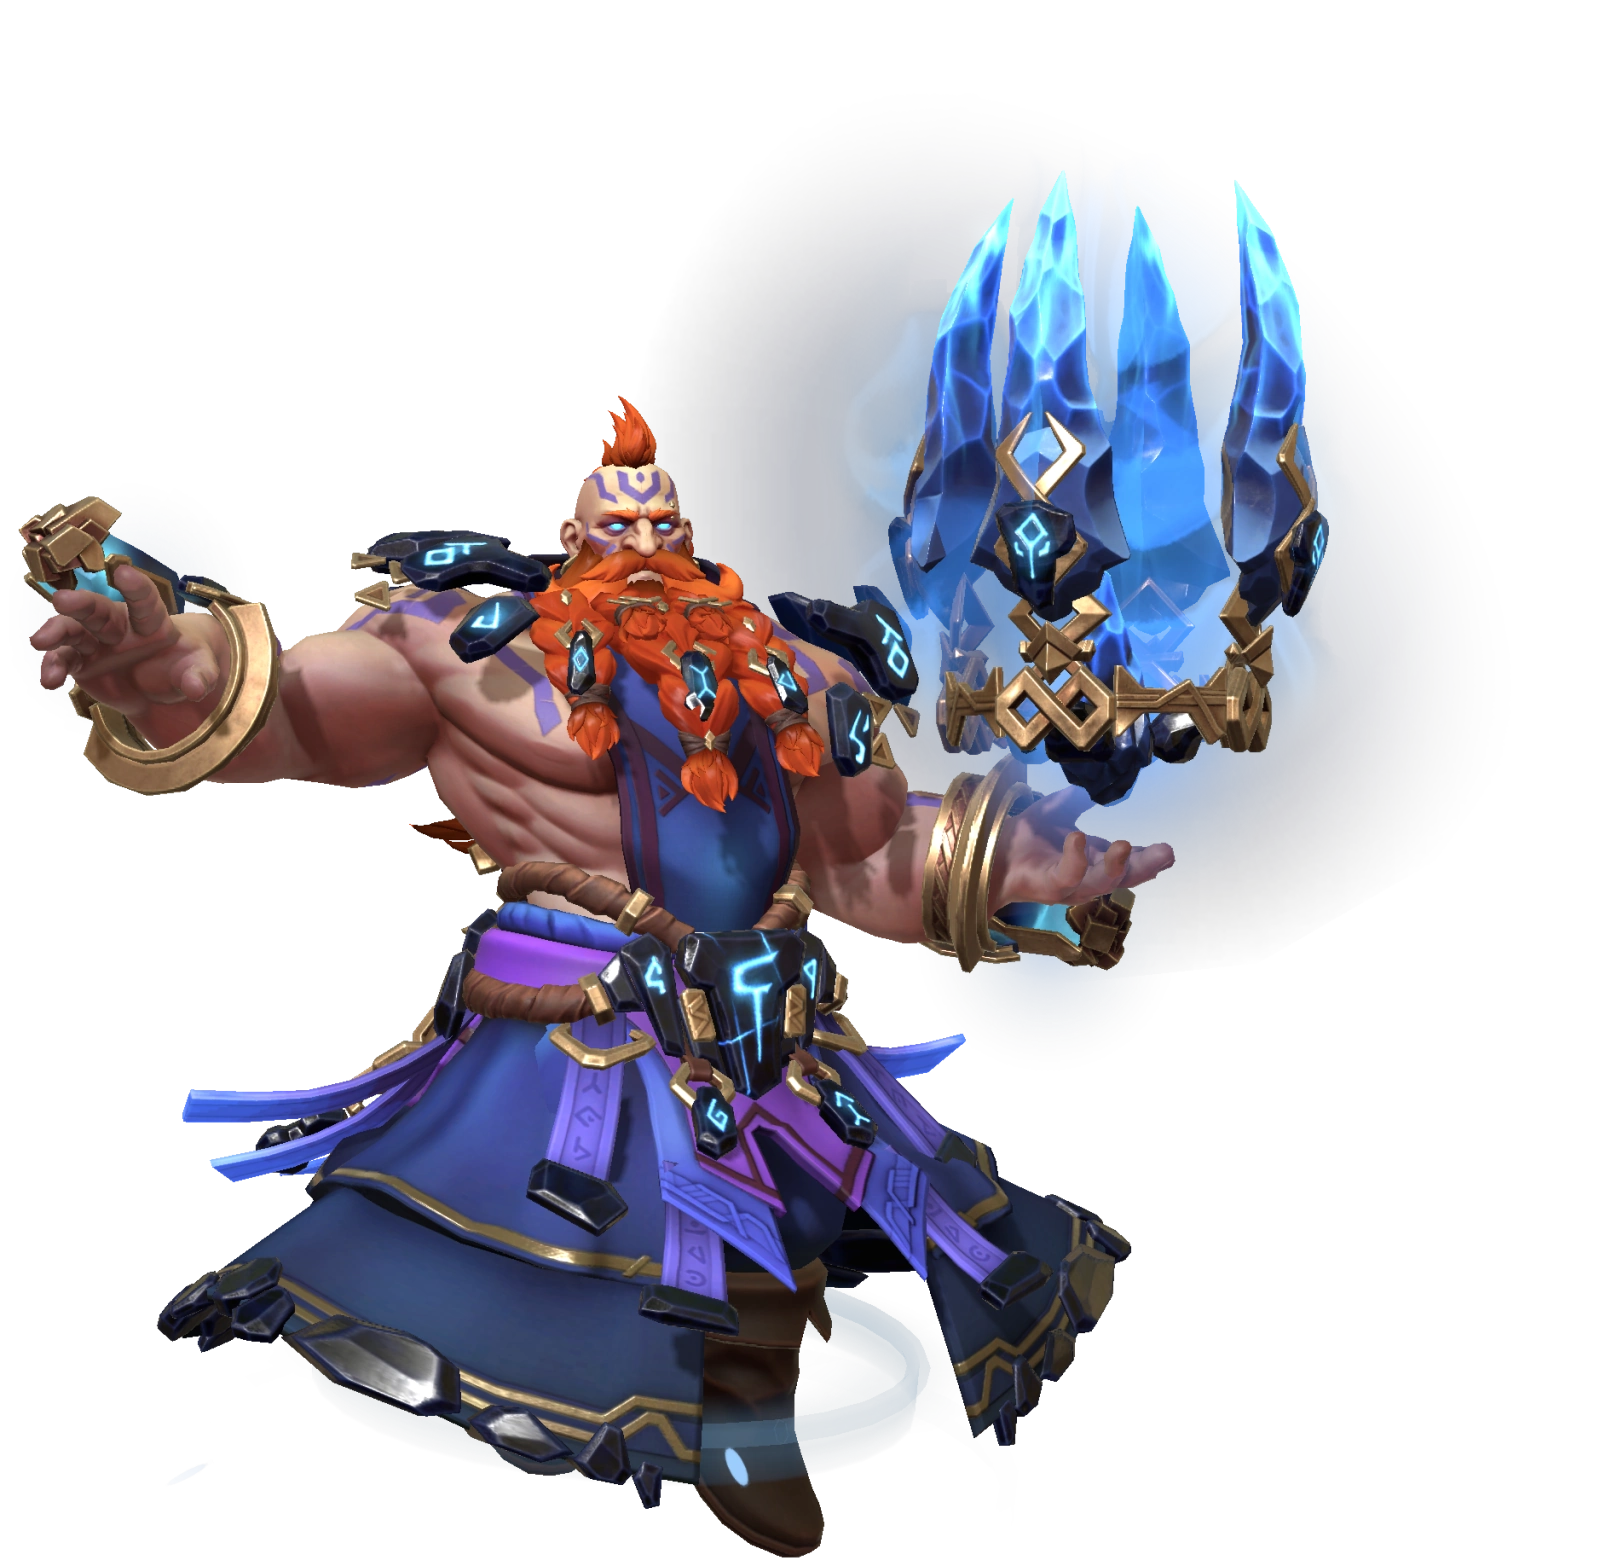
Fulrik the Animator is an Epic Water Support from the Stonehearts Faction in Invokers: Titan Legacy. His kit combines offensive buffs, a targeted heal, an HP-based Shield and extension of buffs you already have. He works best when those effects work together: keeping a damage dealer productive, protecting your frontline or helping an important ally use their Skills again.
Up And At 'Em! places ATK Up and Combo SPD Up on allies in range. ATK Up supports ATK-based damage and healing, and Combo SPD Up speeds up Combo Attacks. Animator Beam extends existing buffs before placing a Shield, so Fulrik can keep teammates' buffs running as well as his own.
Invigoration Bolt places Skill Recovery Up on the ally with the lowest current HP within 15 metres. That targeting matters: it isn't a team-wide Skill Recovery buff, and you can't count on it landing on the exact Invoker you want to speed up. If your Tank keeps ending up with the lowest HP, your Tank will be the one who gets it.
Fully Awakened, fully Awakened and before Gear, Fulrik has 650 ATK, 707 DEF and 9,977 HP, with 45 RES. His ATK is low for a Support and his HP is about average, so his ATK-based heal needs investment if you want it to be strong.
Skills To Prioritize
Heal Quartz reaches 600% ATK healing at Level 10. Max Level keeps that number but lowers the cooldown to 22 seconds and improves how much it cuts its own cooldown: six seconds if the target is fully healed, five otherwise. Because of that, its real cooldown is shorter than the listed one.
Up And At 'Em! reaches 36% ATK Up and 15% Combo SPD Up for 14 seconds at Level 10. Max Level raises ATK Up to 40% and lowers the cooldown to 23 seconds. It's a handy pair of buffs for your damage dealers, but ATK Up won't boost an attack that scales from DEF, and the duration doesn't mean the buffs stay up all the time.
Animator Beam raises the Shield to 25% MAX HP and extends its duration to 16 seconds at Level 10. Max Level keeps the Shield but changes the buff extension from up to two random buffs to three, each by eight seconds. That last upgrade is especially good when your team carries several valuable buffs, and it's less useful when there's little worth extending.
Invigoration Bolt reaches 15% Skill Recovery Up for 3.5 seconds at Max Level, on a ten-second cooldown. It helps, but it's brief, so don't think of it as a permanent 15% Skill Recovery boost on every ally.
If you want Fulrik to protect your team, upgrade Animator Beam first, as Level 10 raises the Shield to 25% MAX HP for 16 seconds and Max Level extends three buffs. If you want him to keep allies healed, prioritize Heal Quartz, as it reaches 600% ATK healing at Level 10. If you want him to power up your damage dealers, consider Up And At 'Em! first, as it reaches 36% ATK Up at Level 10 and 40% at Max Level.
Build And Team Support
At the same level and before Gear, Fulrik has 9,977 HP, 650 ATK and 45 RES, and his Max Level Shield shows 2,494. That's 25% of his own MAX HP, so building his HP makes the Shield he gives allies bigger. His heal does scale from ATK.
Invest in HP first to keep him active, then RES (about 300 for Bosses, more for Arena), then ATK when his healing isn't enough. If allies are dying before healing can respond, a bigger Shield may matter more. If they survive but stay hurt, stronger healing may help more. None of his Skills need Accuracy, so it isn't a priority for him. If you're building him for Arena, put Mana Gen on his Talisman.
Paragon Relics are a strong option: their three-piece bonus raises both his healing and his Shield size by 15%. Health Relics (+15% HP with three pieces) help him stay alive, and Resistance Relics (+50 RES with three pieces) help him avoid being controlled in Arena. Choose whichever suits the pieces you actually have.
Fulrik has no cleanse, Immunity or revive, so another Support has to cover those when you need them. Bring a damage dealer who makes the most of ATK Up and Combo SPD Up, and a Tank to take the hits.
Arena, Bosses And Spires
In Arena, Fulrik can back a protected damage team or a control chain by extending buffs and helping a pressured ally get their Skills back. The result depends on the whole sequence: Fulrik alone doesn't make sure your Tank acts first or keeps the enemy controlled.
In the Water Spire, his group Shield and damage buffs help your team keep moving through waves. Heal Quartz only heals one ally, so widespread damage may need a second source of healing. He can't revive, so preventing a death matters more than hoping to recover from one.
Galvos rewards buffs, which makes Fulrik's buff extension worth more than the stat bonuses alone. Daze Tolerance covers one of Galvos's Corruptions, but your team still needs to handle the rest of the fight.
His Manaburn Tolerance helps against Hyxxis and Sorgott. Against Sorgott, though, he can't cleanse the team or block new debuffs, and buff theft can strip the advantages he builds. Tolerance is one useful part of a Support's job, not a full recommendation for every stage.
Be wary of Astral Omnissi, who can steal buffs, and Dark Omnissi, who removes them, as both can undermine a team built around long buff durations. Light Omnissi punishes healing, which makes Heal Quartz less attractive, though Shields still protect. Build Fulrik when the fight rewards his protection and damage buffs together, and pair him with Invokers who cover what he can't.
Awaken
Awakening boosts an Invoker's stats significantly. Bonuses from Relics, Accessories, the Trophy Room, Tactics and Titan leader bonuses apply to base stats and Awakening stats alike, so unlocking the Awakening nodes is critical to maximise Fulrik's potential.
Unlocking each Titan node at Star 2, 4 and 6 adds a second to Titan Invokation, taking the total from 12 seconds to 15.
Review the Awakening guide for more detail.