










Gralmund the Guidestone guide: skills, build and team roles
Overview
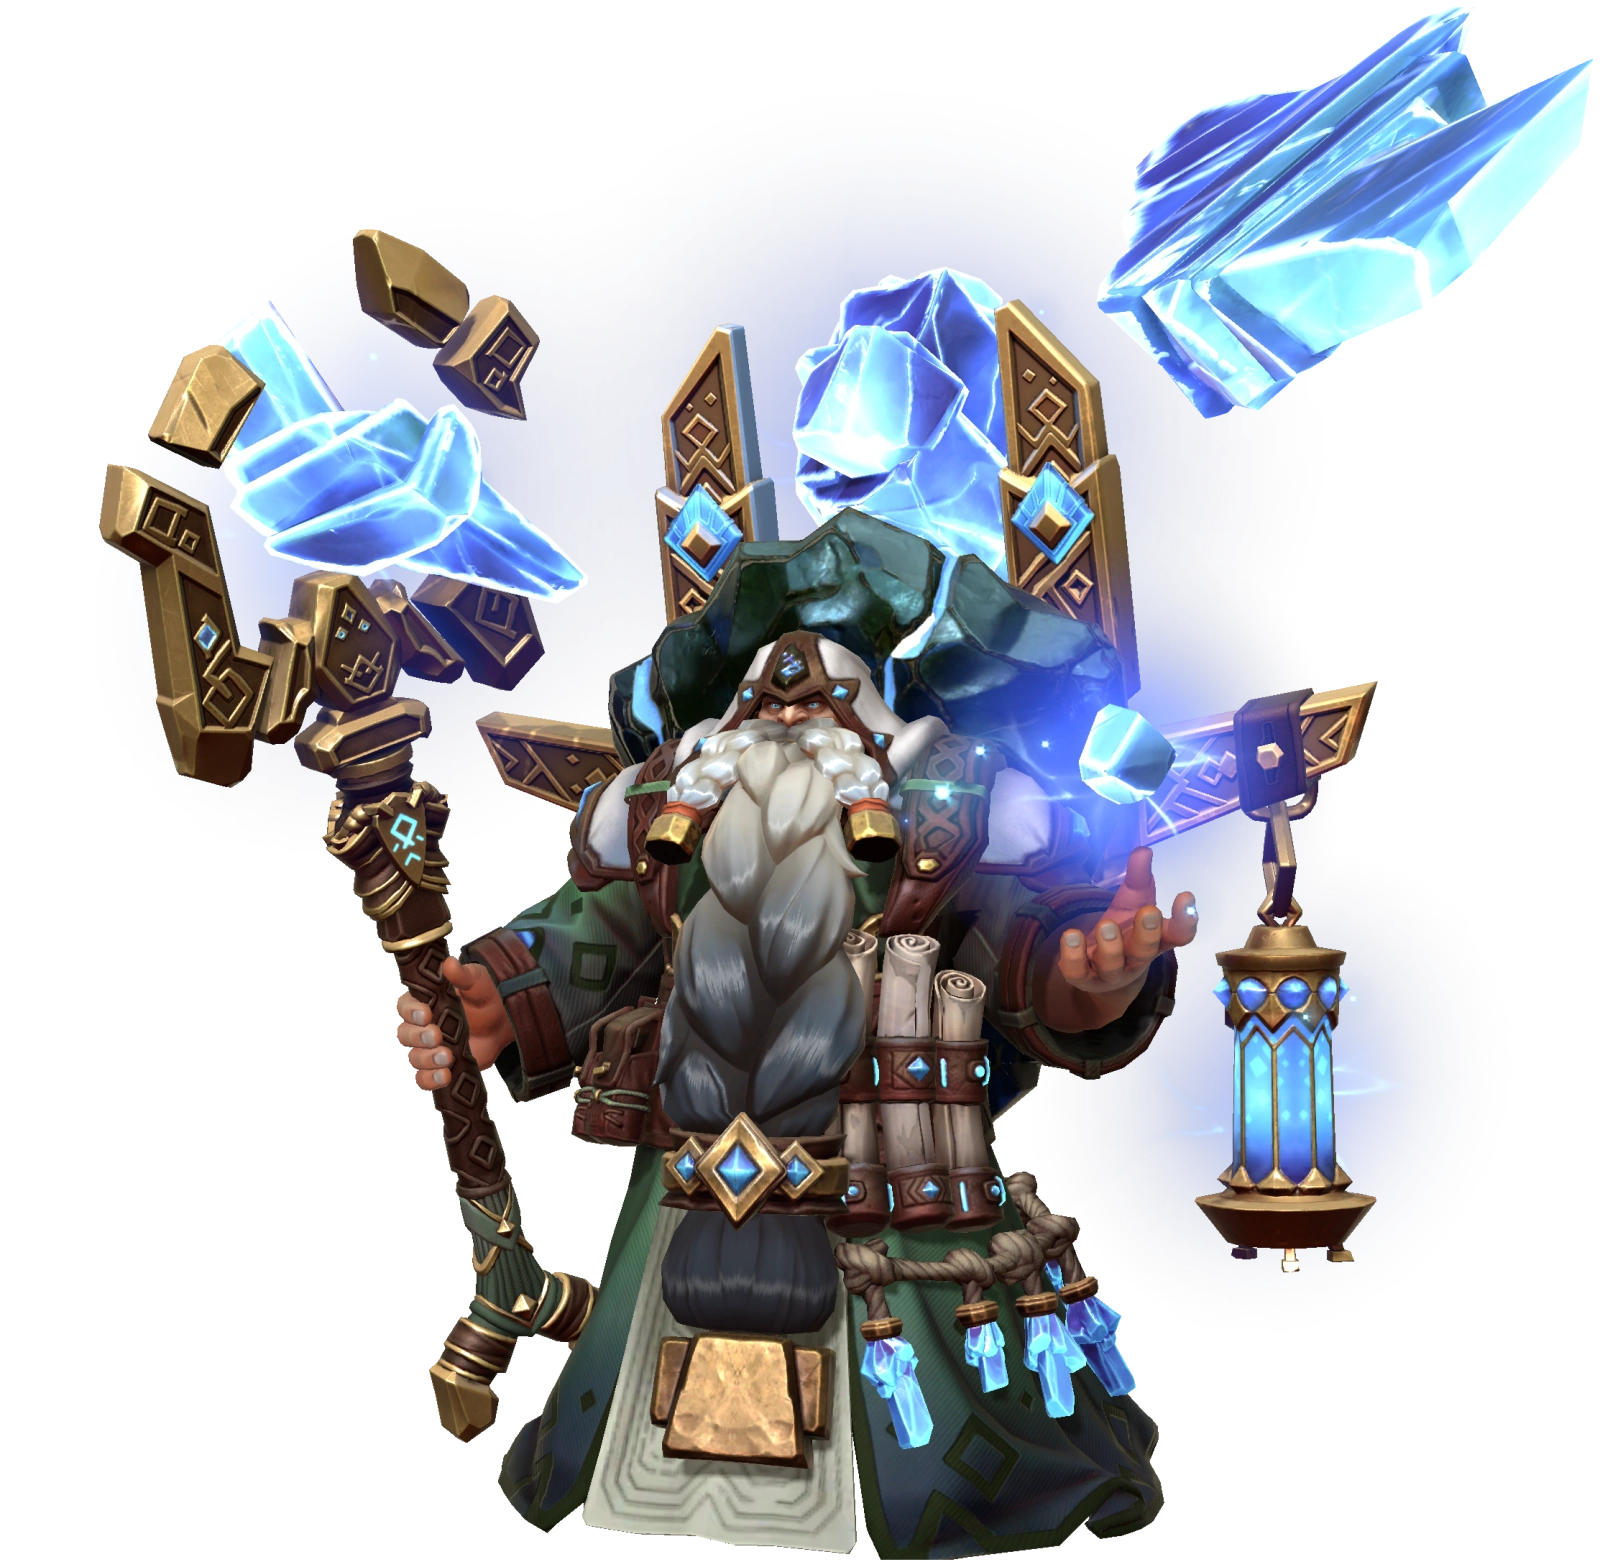
Gralmund the Guidestone is a Legendary Water Support from the Stonehearts Faction in Invokers: Titan Legacy. He keeps a team functioning by removing debuffs, raising its DEF and weakening enemy offense, while his RES Down and debuff extension help the team's own debuffs stay effective. When your team places several short but valuable effects, he's a strong partner. His protection is broad, but it doesn't include a direct heal, Shield or revive, so bring those from allies.
Fully Awakened and before Gear, Gralmund has 980 ATK, 721 DEF and 11,186 HP. His ATK is the highest of any Support and his HP is high.
Crit Rate Down is scarce: he is one of the few Invokers who place it, so he is a good candidate if you are building a team that needs it.
Skills To Prioritize
Fractal Ray attacks one enemy and cleanses a random debuff from nearby allies. Its base cooldown stays at ten seconds across upgrades. Max Level adds a second cleansed debuff per affected ally, making this a real breakpoint. The frequent base Skill is already useful, and Max Level lets it handle a mixed debuff load at once.
His Combo finisher also shortens one random debuff on nearby allies, reaching two seconds at Max Level. Shortening and cleansing are different: reducing duration may not remove a long effect straight away, and neither works on a debuff marked unremovable or unshortenable.
Refraction Piercer places 50% DEF Up for 15 seconds on your team at Level 10 and Max Level. That's strong protection against damage where DEF matters, with extra value for allies whose attacks scale from DEF. It doesn't protect equally against every kind of damage, so the team still needs recovery and other defenses.
Pendulum Laser places ACC Down and RES Down on one enemy. Level 10 gives 60% and 50% respectively for 12 seconds. Max Level brings both to 60% for 14 seconds and lowers the base cooldown from 22 to 20 seconds. ACC Down can help allies resist applicable enemy effects, while RES Down helps your team's own debuffs land. Neither makes Accuracy or RES irrelevant on the rest of the roster.
Refraction Piercer also extends random debuffs on each of its two hits. At Level 10, each hit can extend up to two effects by six seconds; Max Level increases that to up to three effects by seven seconds. It's a strong way to keep debuffs running, but the selection is random, so don't count on fourteen extra seconds on the exact effect you want unless both hits select it.
Prismatic Burst attacks an area and places Crit Rate Down and ATK Down. Level 10 gives 60% Crit Rate Down and 50% ATK Down for 15 seconds. Max Level raises ATK Down to 60%, extends both effects to 17 seconds and lowers the Ultimate cost to 1,000 Mana. These are big reductions when the enemy relies on critical hits and ATK-based damage.
If you want Gralmund to clear debuffs off your team, prioritize Fractal Ray, as Max Level adds a second cleansed debuff per ally. If you want him to keep your team's debuffs running, consider upgrading Refraction Piercer first, as Max Level extends up to three effects by seven seconds. If you want him to weaken enemy offense, upgrade Prismatic Burst first, as Max Level raises ATK Down to 60% and lowers its Mana cost to 1,000.
Build And Team Support
Gralmund places ACC Down, RES Down, Crit Rate Down and ATK Down, so put Accuracy on his Chestplate first and stack more after that as the build allows. After that, build HP, then RES, up to about 300 for Bosses, with more for Arena. Skill RECOV brings Fractal Ray back sooner, so he cleanses more often. His own damage matters less than landing his effects and staying alive to cast the next cleanse. He has native Atrophy and Daze Tolerances.
For Relic Sets, Accuracy Relics help his debuffs land, Health Relics add to his HP and Resistance Relics help against control that would shut him down. Fury Relics add Skill RECOV so Fractal Ray comes back sooner.
He has no direct heal, Shield or revive, so bring a healer and a shielder.
Arena, Bosses And Spires
In Arena, his DEF Up works as an early defensive layer, and allies' Shields and recovery keep the team alive long enough to establish its full cycle. Gralmund helps your team resist pressure and keep useful debuffs running without being the main healer, so protect him from interruption and bring an Invoker who provides the actual healing. The main risk is surviving the opening.
Against Galvos, his native Atrophy and Daze Tolerances match the Boss's Corruptions, and Refraction Piercer's extension keeps the debuffs Galvos rewards running longer.
In the Water Spire, broad cleansing, DEF Up and area debuffs from Prismatic Burst help your team survive, and Refraction Piercer's extension keeps valuable debuffs on durable enemies longer. He can't revive fallen allies, so bring other healing and protection.
Awaken
Awakening boosts an Invoker's stats significantly. Bonuses from Relics, Accessories, the Trophy Room, Tactics and Titan leader bonuses apply to base stats and Awakening stats alike, so unlocking the Awakening nodes is critical to maximise Gralmund's potential.
Unlocking each Titan node at Star 2, 4 and 6 adds a second to Titan Invokation, taking the total from 12 seconds to 15.
Review the Awakening guide for more detail.