










Belmor guide: skills, build and team roles
Overview
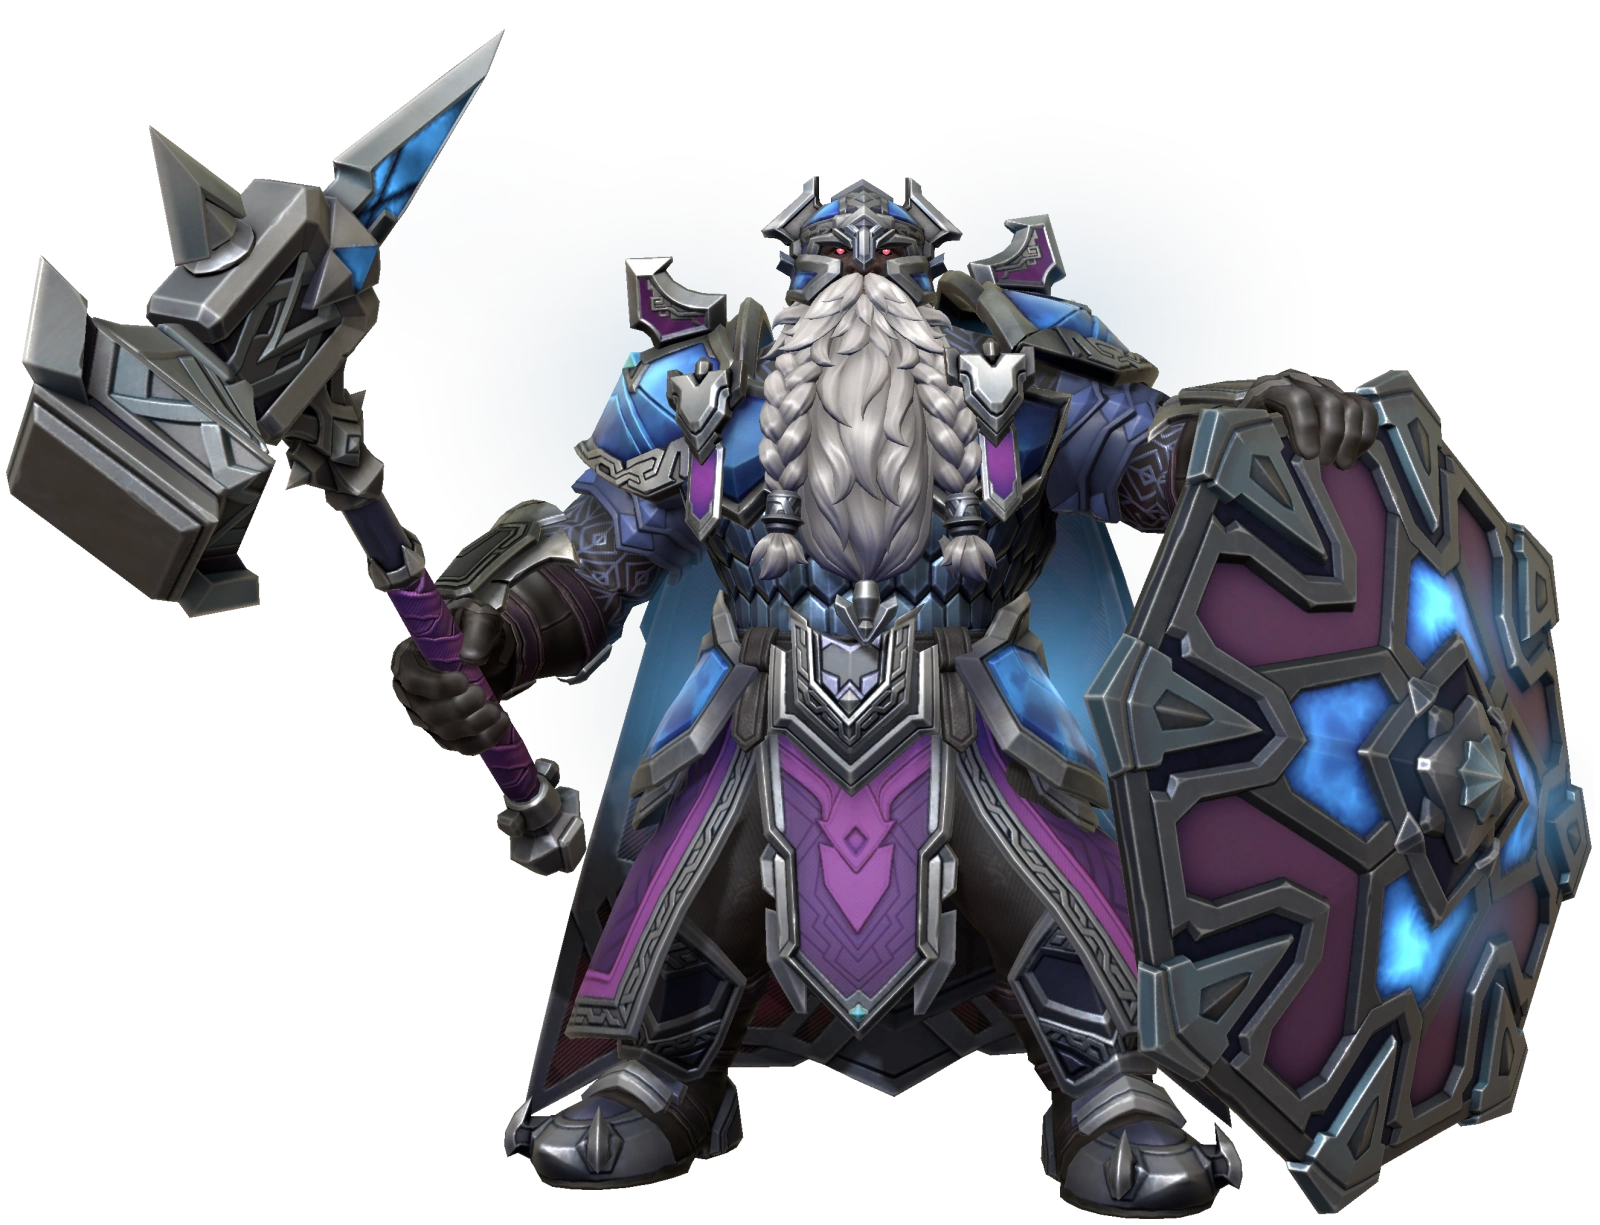
Belmor is a Rare Dark Stonehearts Tank in Invokers: Titan Legacy. He uses DEF for his attack damage and adds a personal Shield, Immunity, ATK Down and Weaken. That makes defensive investment useful twice over: it keeps him alive and it supports his direct damage.
Fully Awakened and before Gear, Belmor has 251 ATK, 860 DEF, 8,606 HP, 92 Accuracy and 76 RES. His ATK is low for a Tank, his DEF is about average and his HP is low. His low ATK doesn't mean his damage is broken: the attacks in his kit scale from DEF, so an ATK-heavy build would miss what they actually scale from.
All his attacks are single-target. He helps take down a priority enemy rather than clearing a whole wave or controlling a group.
The limit of his kit is team protection. Everdeep Shieldwall protects Belmor himself. He has no Taunt to force enemies to attack him, no team Shield and no healing, so a durable Belmor doesn't automatically mean safe allies. Positioning, enemy targeting and outside protection still decide whether he holds the front line you need.
Skills To Prioritize
Everdeep Shieldwall at Level 10 is an important upgrade, because Immunity blocks two debuffs instead of one. Its Shield is 15% of Belmor's MAX HP for 12 seconds, while Immunity lasts 14 seconds. That protection has both a charge limit and a duration limit. Immunity doesn't block Control Debuffs such as Stun or Taunt; Willpower is the separate buff for that. Max Level extends both effects to 16 seconds and lowers the cooldown from 26 to 25 seconds. The Shield stays at 15% and Immunity stays at two charges, so choose that upgrade for longer protection, not a bigger Shield or team-wide protection.
Debilitating Pummel reaches 34% ATK Down for 13 seconds at Level 10, then 35% for 15 seconds at Max Level, with a final cooldown of 23 seconds. It helps against damage that scales from the enemy's ATK, while other damage formulas need a separate answer.
Surface Defenses reaches 19% Weaken at Level 10. Max Level keeps the 19%, extends the duration from 14 to 15 seconds and lowers the Mana cost from 850 to 800. Weaken helps your team hit that one target harder; it doesn't affect a whole wave.
If you want Belmor as a durable front line, prioritize Everdeep Shieldwall, as Level 10 lets Immunity block two debuffs and Max Level extends the Shield and Immunity to 16 seconds. If you want him to blunt a dangerous enemy's damage, consider upgrading Debilitating Pummel first, as its ATK Down grows from 34% for 13 seconds at Level 10 to 35% for 15 seconds at Max Level. If you want him to help your team hit a priority target harder, upgrade Surface Defenses first, as Max Level extends its Weaken to 15 seconds and lowers its Mana cost to 800.
Build And Team Support
Belmor places ATK Down and Weaken, so put Accuracy on his Chestplate first and add as much Accuracy after that as the build allows. Build DEF first, then HP, then RES, up to about 300 for Bosses, with more for Arena. DEF supports his attacks and his everyday survival, while HP makes his Shield bigger. Belmor has native Daze Tolerance.
For Relic Sets, Defense Relics raise the DEF his attacks scale from, and Health Relics make his Everdeep Shieldwall Shield bigger, because it's a percentage of his MAX HP. Accuracy Relics help his ATK Down and Weaken land more consistently, and Resistance Relics help keep him from being disabled in Arena.
Add a healer or another source of recovery. A Shield absorbs damage while it lasts, but it doesn't restore HP he has already lost. If the enemy bypasses DEF or hits the whole team, Belmor's personal durability can't cover every survival need.
Arena, Bosses And Spires
In early Arena teams, Belmor can survive pressure and reduce one enemy's ATK. He has no Taunt or group control, so he can't guarantee that an attacker leaves your support alone. Use him when his debuffs and durability help the matchup, not just because he's a Tank.
Against Galvos, who takes 5% more damage for every debuff on him, Belmor's Debilitating Pummel places ATK Down and Surface Defenses places Weaken, so each adds to the damage your team deals. His native Daze Tolerance also matches Galvos's Daze Corruption.
Against Ulgorim, who also uses Daze, Belmor's native Daze Tolerance helps, but he doesn't place Heal Reduction and can't deal with the totems alone, so bring another Invoker who does.
Against Sorgott, much of the damage bypasses DEF or uses the target's MAX HP, so stacking DEF only goes so far. Belmor has no native Manaburn or Crush Tolerance, no team cleansing and no Jinx, and his buffs can be stolen, so build Manaburn Tolerance and Crush Tolerance Relics and bring Invokers who cover the other gaps.
Against Wind Omnissi, who needs Move SPD Down, and Dark Omnissi, who needs Combo SPD Down, Belmor places neither, so bring Invokers who do. Be wary of Astral Omnissi stealing buffs, as that can undermine his Shield and Immunity.
In the Dark Spire, a durable single-target front line works well alongside a wave attacker, a healer and a controller. Belmor brings no area damage, revive or team recovery, so bring Invokers for those jobs. His Immunity can help him keep acting, but it doesn't protect the rest of your team from the same debuffs.
Awaken
Awakening boosts an Invoker's stats significantly. Bonuses from Relics, Accessories, the Trophy Room, Tactics and Titan leader bonuses apply to base stats and Awakening stats alike, so unlocking the Awakening nodes is critical to maximise Belmor's potential.
Unlocking each Titan node at Star 2, 4 and 6 adds a second to Titan Invokation, taking the total from 12 seconds to 15.
Review the Awakening guide for more detail.