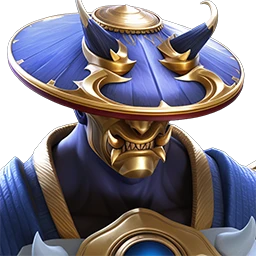











Gondo The Watchman guide: skills, build and team roles
Overview
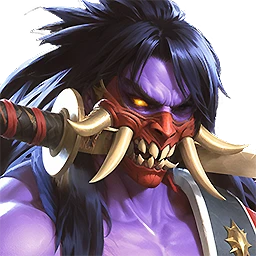
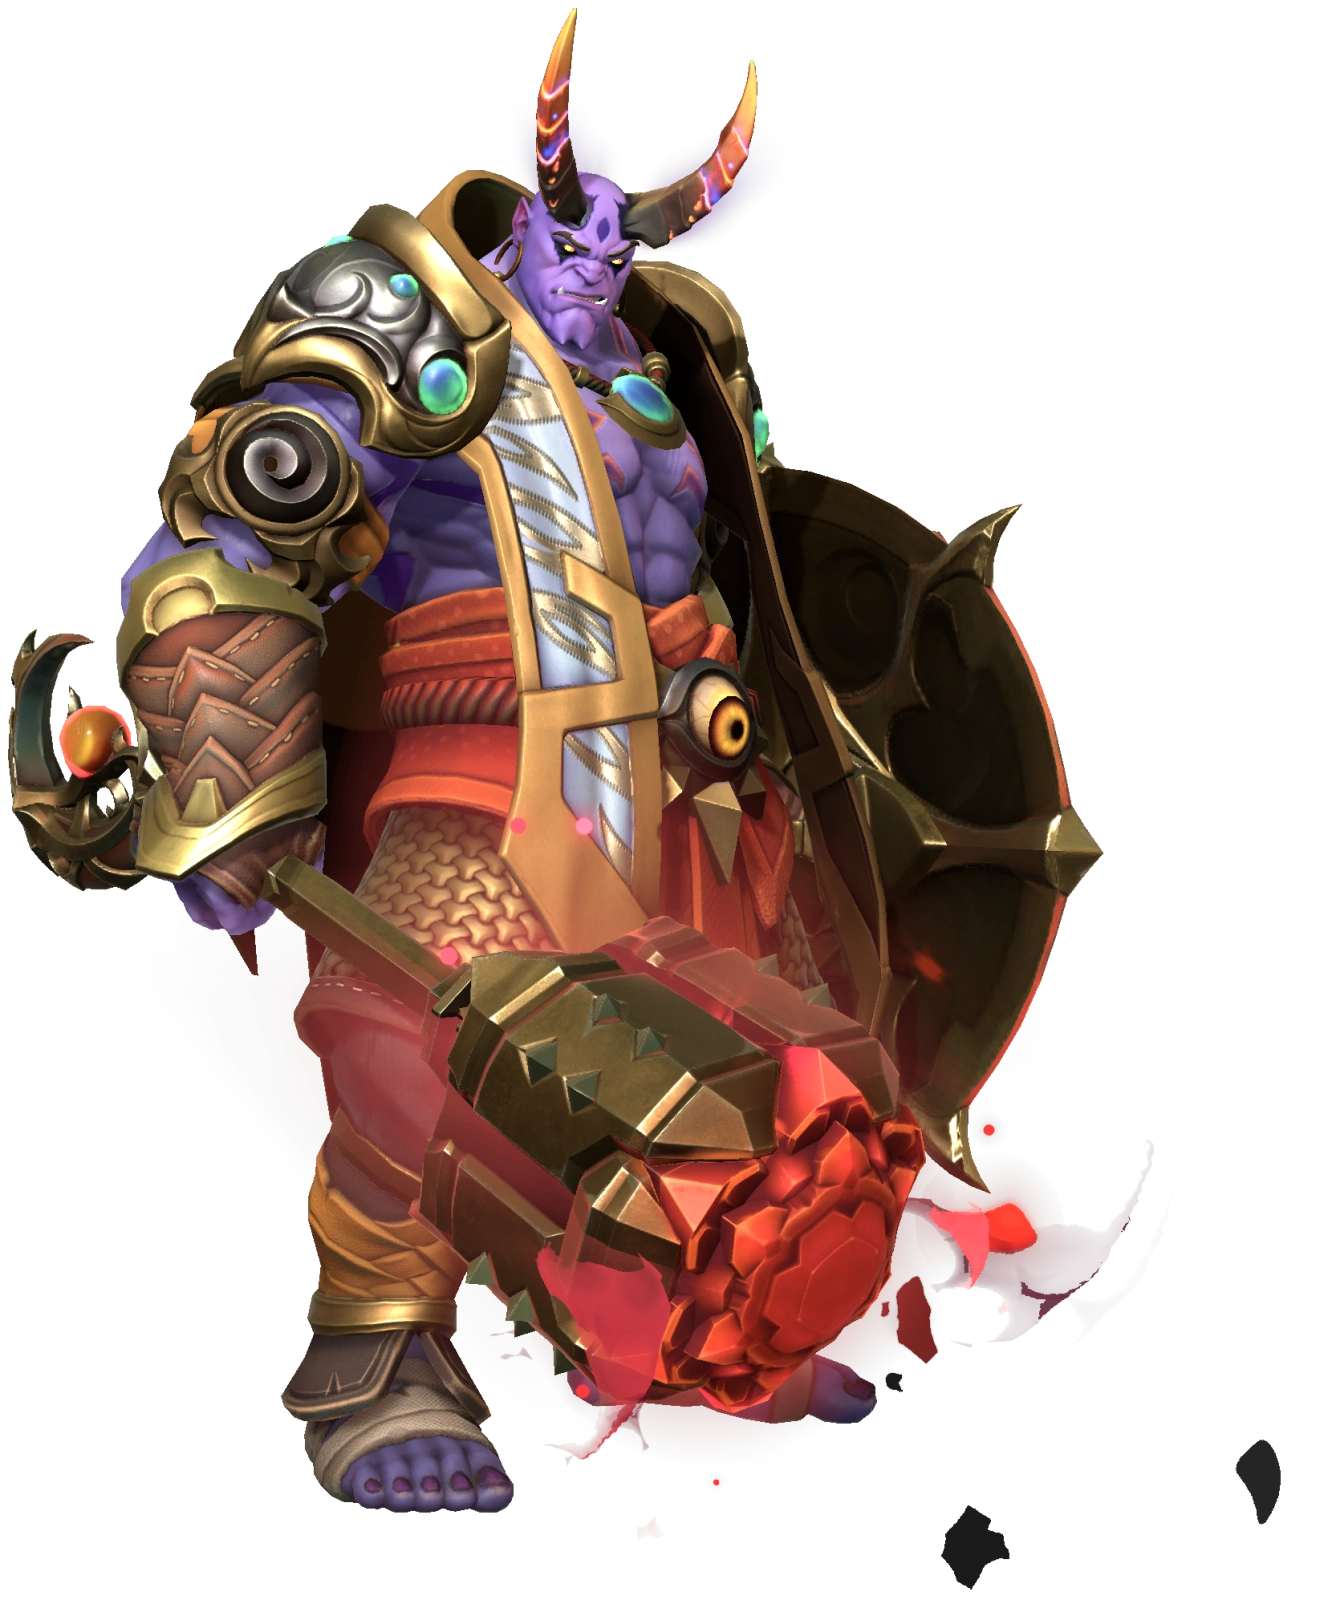
Gondo the Watchman is an Epic Dark Tank from the Cambion Faction in Invokers: Titan Legacy. He protects allies in two ways: a group Shield absorbs damage, while several control effects interfere with enemy actions. He suits teams that need time to set up their damage or healing, especially against groups you can actually control.
Fully Awakened and before Gear, Gondo has 352 ATK, 957 DEF and 10,655 HP. All three are about average for a Tank.
His attacks use both ATK and DEF, so DEF supports his survival and his damage. Hold The Gates Shields allies, and the Shield is based on Gondo's own MAX HP, not the recipient's, so building his HP makes every ally's Shield bigger. His HP also helps him survive the attacks that Taunt draws to him. He has no heal or revive, so bring a healer.
Skills To Prioritize
Hold The Gates attacks one enemy and Shields nearby allies within fifteen meters. The Shield reaches 15% of his MAX HP at Level 10 and Max Level. Max Level extends its duration from twelve to fourteen seconds and lowers the base cooldown from 26 to 25 seconds.
Doom Oculus attacks a seven-meter forward semicircle. At Level 10 and Max Level, it places four seconds of Shock and 18% Blind, with Blind lasting twelve seconds, or fourteen at Max Level. Shock stops movement and Skill use and makes attacks deal 125% of normal damage to the target, which means 25% more rather than a 125% increase. Enemy cooldowns keep recovering during it. Blind affects Combo Attacks, so it doesn't make every enemy Skill miss.
Jaws of Hatred Launches nearby enemies for five seconds and then places Taunt for 5.5 seconds at Level 10 or six at Max Level. Taunted enemies direct Combo Attacks toward Gondo. He still has to survive those attacks, so control and durability work together rather than replacing each other. Don't add the Launch and Taunt durations together and expect an unbroken lock, because the exact timing depends on when each effect is placed.
Mallet Smasher extends one random buff on Gondo by 2.9 seconds at Level 10 or three at Max Level. The buff is random and some effects can't be extended, so you can't count on it to keep one chosen effect up.
Accuracy is needed for his debuffs to land. Be wary of enemies with Immunity or high RES, as they can stop his debuffs and take away the protection you expected.
If you want Gondo to protect your team, prioritize Hold The Gates, as it gives a stronger group Shield and Max Level extends it from twelve to fourteen seconds. If you want him to shut enemies down, consider upgrading Doom Oculus first, as its Shock grows from two seconds at Level 1 to four at Level 10. If you want him to draw attacks and control a group, upgrade Jaws of Hatred first, as its Launch and Taunt grow from three seconds at Level 1 to the longer final values.
Build And Team Support
Gondo places Shock, Blind, Launch and Taunt, so put Accuracy on his Chestplate first and add as much Accuracy after that as the build allows. Build HP first, since it sets the size of his Shield, then DEF, then RES, up to about 300 for Bosses, with more for Arena. Then add Skill RECOV to bring his Skills back sooner, and Mana Gen so Jaws of Hatred comes around faster, depending on the fight. His job is to stay alive long enough to repeat his protection, and a perfect control chain means little if enemies resist it or the Combo Attacks Taunt draws onto him defeat him. Gondo has native Blight and Paralysis Tolerances.
For Relic Sets, Health Relics raise the HP his Shield is built from and help him survive the attacks Taunt draws to him, and Defense Relics raise the DEF his attacks and survival scale from. Accuracy Relics help his Shock, Blind, Launch and Taunt land, Resistance Relics help stop him being disabled, Fury Relics add Skill RECOV, and Mana Relics add Mana Gen.
Bring a healer, because Gondo has no heal or revive. A Shield doesn't restore HP, and one Shield isn't a complete answer to sustained damage.
Arena, Bosses And Spires
In Arena, Gondo can disrupt a grouped opening and pull pressure away from vulnerable allies.
Be wary of Bosses that are immune to Control Debuffs, as they won't be affected by Shock, Launch or Taunt. The group Shield can still help there, but one Shield isn't a complete answer to sustained damage.
Against Ulgorim and Earth Omnissi, his native Blight and Paralysis Tolerances cover only those effects, and he doesn't cleanse allies, so bring another Invoker who does.
In the Dark Spire, Gondo plays a similar role, particularly when your area damage benefits from the time he creates. A separate healer is still valuable, because Gondo has no heal or revive.
Awaken
Awakening boosts an Invoker's stats significantly. Bonuses from Relics, Accessories, the Trophy Room, Tactics and Titan leader bonuses apply to base stats and Awakening stats alike, so unlocking the Awakening nodes is critical to maximise Gondo's potential.
Unlocking each Titan node at Star 2, 4 and 6 adds a second to Titan Invokation, taking the total from 12 seconds to 15.
Review the Awakening guide for more detail.