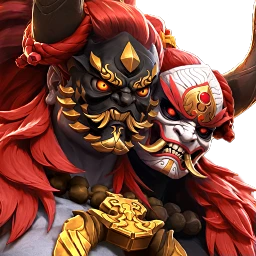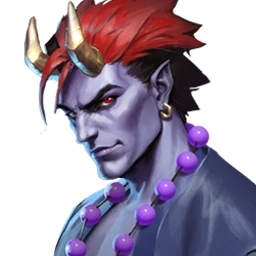













Azuma Thunderclap guide: skills, build and team roles
Overview
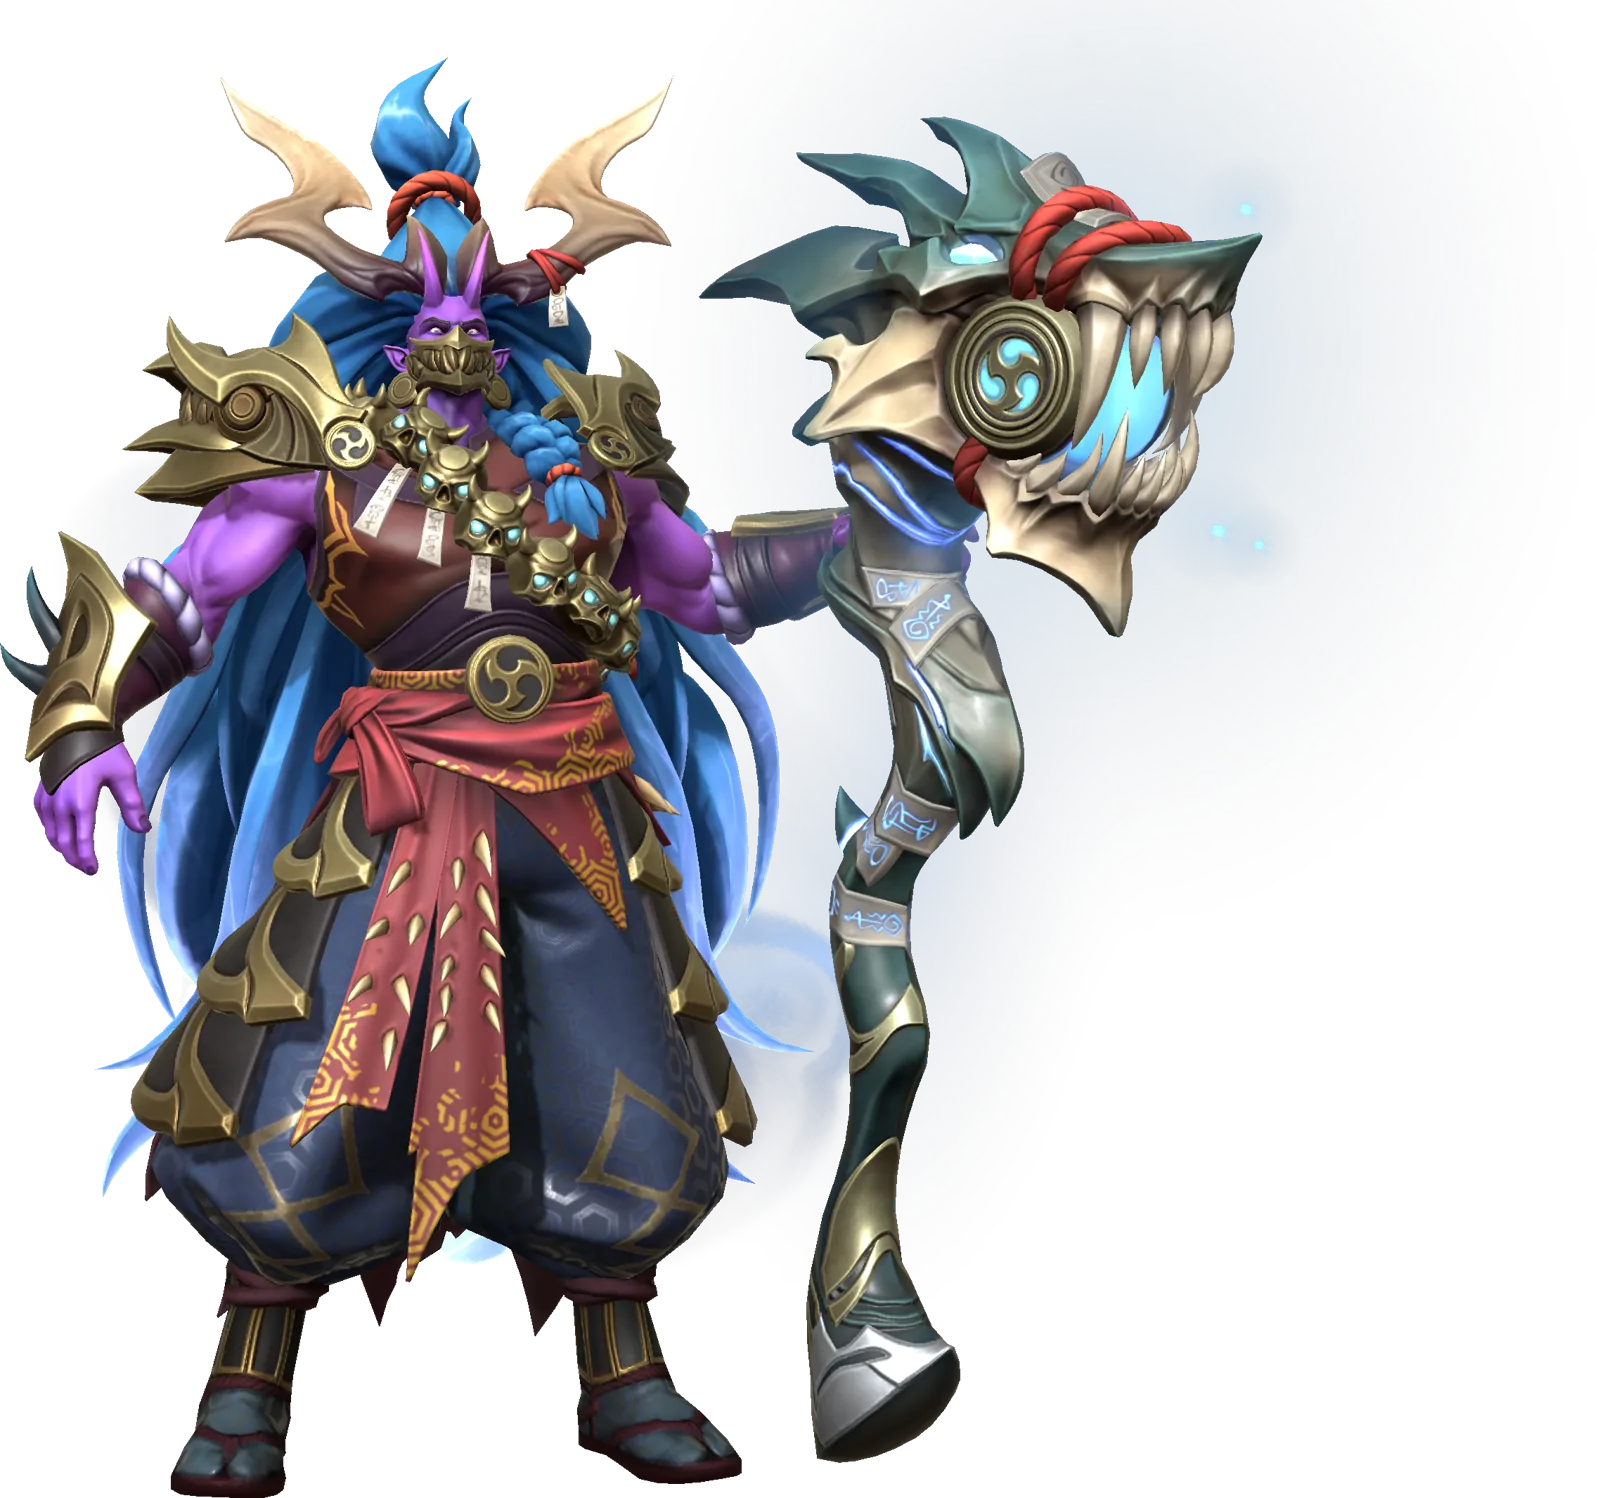
Azuma Thunderclap is a Legendary Wind Melee Attacker from the Cambion Faction in Invokers: Titan Legacy. He places RES Down, DEF Down and Weaken to set up your team's damage, then Tempest Dragon Stuns and Hexes the ten enemies with the lowest HP around him. An enemy that dies under Hex can't be revived, and the Ultimate's last hit deals more damage for every debuff on its target, so he's at his best beside allies who place debuffs too.
His Skills deal damage based on his ATK, and every debuff he places needs Accuracy to land.
Fully Awakened and before Gear, Azuma has 1,026 ATK, 829 DEF and 9,516 HP. His ATK is about average for a Melee Attacker and his HP is high.
Hex is scarce: he's one of a handful of Invokers who place it, so he's a good candidate if you're building a team that needs to stop enemies coming back.
He has no heal or Shield and has to fight close to the enemies, so he needs protection. Stun and Launch don't work on Bosses that are immune to Control Debuffs, so against those Bosses he relies on his other debuffs.
Skills To Prioritize
Tempest Dragon, his Ultimate, attacks the ten enemies with the lowest HP within seven metres of Azuma three times. The Stun on the first hit lasts 4 seconds at Level 1, 5 at Level 2 and 6 at Level 6, so there's no more Stun to gain after that. The Hex on the second hit lasts 12 seconds at Level 1 and 16 at Level 10. The third hit deals extra damage for each debuff on its target, up to +250%: 15% per debuff at Level 1, 20% from Level 4, 25% from Level 9 and 30% at Max Level. Stun and Hex from the earlier hits can count towards it, but only if they land. The Mana cost falls from 900 to 875 at Level 5, 850 at Level 8 and 800 at Max Level.
Peal of Thunder attacks one enemy twice. The first hit places DEF Down and the second places Weaken. DEF Down starts at 35% and reaches 45% at Level 8, and Weaken starts at 12%, reaching 18% at Level 9 and 20% at Max Level. At Level 10 both last 17 seconds instead of 14. The cooldown falls from 28 seconds at Level 1 to 25 at Level 9 and 24 at Max Level. DEF Down and Weaken are separate effects, so don't add their percentages together.
Storm Fang places RES Down on one enemy, which helps the debuffs from your whole team land. It grows from 40% for 10 seconds at Level 1 to 76% for 14 seconds at Level 10. Max Level raises it to 80% for 15 seconds and lowers the cooldown from 22 to 20 seconds. It needs Accuracy to land itself.
Bolt Hammer Launches one enemy, and the Launch grows from 2 seconds at Level 1 to 3.2 at Level 9 and 3.5 at Max Level, so it's the Skill to upgrade last. His fifth Combo Attack gives Ultimate Mana for each debuff on the target, 4 at Level 1 and 7 at Level 10.
If you want Azuma to control groups in Arena and the Wind Spire, upgrade Tempest Dragon first, as Level 6 gives its longest Stun and Level 10 stretches Hex to 16 seconds. If you want him to set up damage on one dangerous target, upgrade Peal of Thunder first, as Level 10 keeps DEF Down and Weaken running for 17 seconds. If you want his debuffs and your team's to land more reliably, upgrade Storm Fang first, as its RES Down climbs from 40% to 76% by Level 10.
Build And Team Support
Azuma places debuffs and doesn't rely on Burn or Bleed, so put Accuracy on his Chestplate and Flask and stack as much as the build allows. After that, build ATK and Crit Rate to about 75-80%, then as much Crit DMG as the build allows. Past that point, Crit DMG is worth more than more Crit Rate. Add enough HP and DEF to survive in melee. If you want Tempest Dragon more often, put Mana Gen on his Talisman, as it costs 800 Mana even at Max Level. He has native Crush and Fatigue Tolerances.
For Relic Sets, Accuracy Relics help his debuffs land more consistently, and Crit Rate Relics help you reach the Crit Rate threshold. For more damage once those are covered, Predator Relics add ATK and, at five pieces, Crit DMG. Mana Relics add Mana Gen if you want to cast Tempest Dragon more often.
Tempest Dragon's last hit grows with every debuff on its target, so allies who place debuffs add to his damage. He has no heal or Shield, so bring a Tank and a healer to keep him alive while he fights close to the enemies.
Arena, Bosses And Spires
In Arena, Tempest Dragon Stuns and Hexes up to ten of the enemies around him, so an enemy Invoker who dies while Hexed can't be revived. Be wary of enemy Invokers who have Immunity, Willpower or cleansing Skills, as they can stop his debuffs landing or remove them.
Against Althar, Hex stops minions that die under it from being revived when Althar casts Necrocall, so kill them while the Hex is active. His native Crush and Fatigue Tolerances also match Althar's two Corruptions.
Against Sorgott, Tempest Dragon attacks the ten enemies with the lowest HP, which should be his Crypt Rats, so it works as the AoE Skill you need to clear them. His native Crush Tolerance matches Sorgott's Crush Corruption.
Ulgorim is immune to Control Debuffs, so Stun and Launch won't land, but Peal of Thunder's DEF Down and Weaken still help your team's damage against his high DEF and HP.
Against Wind Omnissi, who uses Fatigue Corruption, his native Fatigue Tolerance helps, and against Astral Omnissi his native Crush Tolerance does.
In the Wind Spire, Tempest Dragon's area Stun and Hex suit clearing waves, and its last hit grows with the debuffs the first two hits place. He has no heal or Shield, so allies need to provide the sustain.
Awaken
Awakening boosts an Invoker's stats significantly. Bonuses from Relics, Accessories, the Trophy Room, Tactics and Titan leader bonuses apply to base stats and Awakening stats alike, so unlocking the Awakening nodes is critical to maximise Azuma's potential.
Unlocking each Titan node at Star 2, 4 and 6 adds a second to Titan Invokation, taking the total from 12 seconds to 15.
Review the Awakening guide for more detail.