



Moros guide: skills, build and team roles
Overview
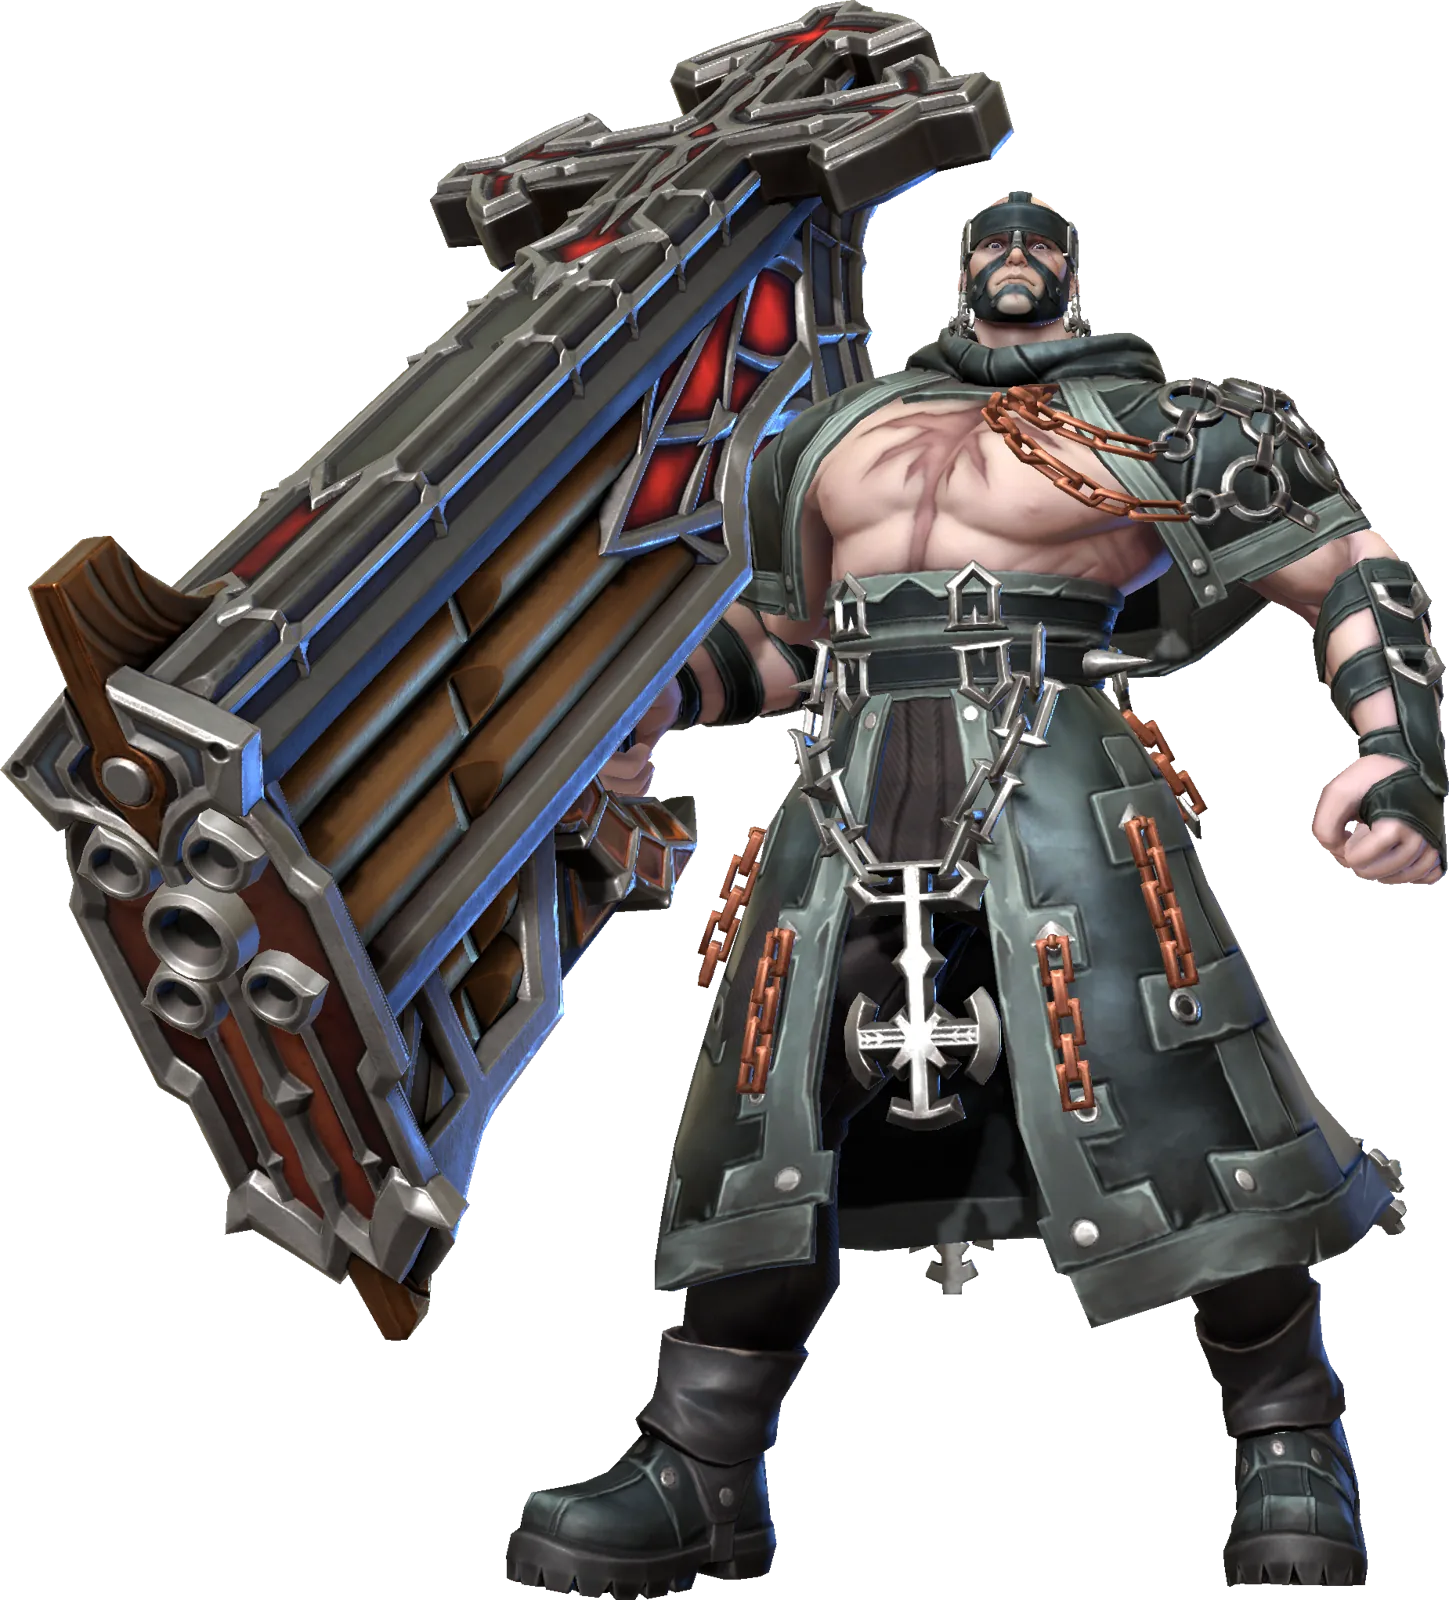
Moros is a Legendary Earth Ranged Attacker from the Nocturna Faction in Invokers: Titan Legacy. He hits groups from a distance, and his Concerto casts Shock on up to ten enemies at once, which gives your team a window to finish them off. His critical hits then feed his Mana and cut his Skill cooldowns, so the longer he stays alive and critting, the more often he gets to cast.
His damage scales from ATK. Fully Awakened and before Gear, Moros has 1,316 ATK, 735 DEF and 7,906 HP. His ATK is one of a couple of the highest in the game, and his HP is high for a Ranged Attacker. Neither of those makes him hard to kill, so he still needs protection from your Tank and healer.
Shock stops enemies from moving or using Skills, and they take 125% of normal attack damage, which is 25% more, not 125% more. Cooldowns still tick down while an enemy is Shocked, so Shock buys your team a window rather than a permanent lock.
Moros has no healing, Shields or revival, so those have to come from your team. His DEF Down is a single-target debuff, so it supports his damage but doesn't define him.
Skills To Prioritize
Concerto is his control Skill. It selects an enemy up to 14m away and hits up to ten enemies in a 9m radius around it, casting Shock. Shock lasts four seconds at Level 1 and 5.8 seconds at Level 10, reaching six seconds at Max Level, while the cooldown falls from 28 seconds to 26 and then 25. It needs Accuracy to land.
Fortissimo hits up to ten enemies in a 6x12m area in front of him, twice. If any hit is a critical hit, Moros gains Ultimate Mana: 75 at Level 1, 95 at Level 10 and 100 at Max Level. Its cooldown falls from 24 seconds to 21 at Level 10 and 20 at Max Level. His fifth Combo Attack shortens Fortissimo's cooldown by 1.9 seconds at Level 10 (two seconds at Max Level) if any hit is a critical hit, so finishing your Combo Attacks helps bring the area damage back.
Crescendo, his Ultimate, hits up to ten enemies in a 10m radius three times. Each critical hit reduces the cooldown of a random Active Skill by five seconds at Level 10 and six at Max Level, and you can't choose which one. Its Mana cost falls from 1,100 at Level 1 to 1,050 at Level 10 and 1,000 at Max Level, which is still expensive.
Deathchord hits one enemy and casts DEF Down: 29% for six seconds at Level 10, and 30% for seven seconds at Max Level, on a ten-second cooldown. It needs Accuracy too.
If you want Moros to control groups, upgrade Concerto first, as its Shock lasts longer and comes back sooner. If you want him to deal damage as often as possible, upgrade Fortissimo first, as its Mana and cooldown improvements keep the whole cycle running, then Crescendo for its cheaper cost at Max Level. If you want him to help your team hit one target harder, upgrade Deathchord first, as its DEF Down grows from 20% at Level 1 to 30% at Max Level.
Build And Team Support
Build Crit Rate to around 75–80%, then as much Crit DMG as the build allows. His Mana and cooldown refunds only happen on critical hits, so Crit Rate does more for him than raising ATK. Both Shock and Deathchord need Accuracy to land, so put Accuracy on your Chestplate and your Flask, and add more after that as the build allows. Mana Gen on your Talisman helps him reach Crescendo, and Skill RECOV helps bring back Concerto sooner.
For Relic Sets, Crit Rate Relics make his critical hits more reliable, Crit Damage Relics and Predator raise how hard they hit, and Accuracy Relics help Shock and DEF Down land. Mana Relics help him reach Crescendo sooner. His native Blight and Daze Tolerances already match Ulgorim's Corruptions, so you don't need a Tolerance set there. Use Daze Tolerance Relics against Galvos only if you need more than his native Daze Tolerance.
Pair Moros with a Tank to keep enemies off him, and a healer or Shielder to keep him alive while he casts. A teammate who attacks while enemies are Shocked gets the most from Concerto.
Arena, Bosses And Spires
In Arena, Concerto's Shock can stop several enemies from using Skills at once, giving your team time to finish them. Protect him from early burst, because he needs to survive to cast, and be wary of enemy Invokers with Immunity or Skills that cleanse debuffs, as they can stop Shock from landing.
Against Koltmos, Moros is a Ranged Attacker with native Blight Tolerance, and his area attacks help clear the Doomclaws. Against Ulgorim, his native Blight and Daze Tolerances match Ulgorim's Corruptions, while Deathchord's DEF Down helps your team's damage. Ulgorim is immune to Control Debuffs, so Concerto's Shock won't land and his area damage carries the fight. Against Hyxxis, who is also immune to Control Debuffs, Shock won't land either. Moros has neither Crush nor Manaburn Tolerance, so bring Relics with those Tolerances or another way to cover them.
Against Sedula, Fortissimo hits a 6x12m area and Crescendo a 10m radius, so both help clear her Tentacles quickly, which limits the damage the Tentacles do to the Ship. Deathchord's DEF Down then raises your team's damage once she surfaces. Sedula changes Element every day, and Moros has Elemental Advantage on the days she is Wind.
In the Earth Spire, his wide area attacks and Shock make him a good wave-clearer. Pair him with Invokers of a similar Rarity: Kinslayer Sodama, an Epic Earth Ranged Attacker, adds Bleed and ATK Up, while Admiral Gladstone, a Legendary Earth Tank, adds DEF Down and Heal Reduction while soaking up damage. Kandra, an Epic Earth Tank, casts Shields and heals to keep Moros alive.
Awaken
Awakening boosts an Invoker's stats significantly. Bonuses from Relics, Accessories, the Trophy Room, Tactics and Titan leader bonuses apply to base stats and Awakening stats alike, so unlocking the Awakening nodes is critical to maximise Moros's potential.
Unlocking each Titan node at Star 2, 4 and 6 adds a second to Titan Invokation, taking the total from 12 seconds to 15.
Review the Awakening guide for more detail.